
In the quest for the perfect dinner roll, I found this recipe and adapted it for a perfectly herby and garlicy side.
I have been on something of a quest. My partner and I love having a little bit of bread with our meals (who doesn’t?) but the dinner rolls we buy at the store just aren’t that great. So, over the years, I’ve tried a bunch of different recipes for rolls.
They’ve always had a problem. Some of them are too dense. Some of them are too sweet. Some of them just don’t work, though I won’t rule out user error in baking them. I’m not perfect.
Finally, I stumbled upon a recipe that looked promising. It’s a simple yeast bread roll recipe, promising perfectly flaky rolls. There was just one problem; it was too simple! I wanted something with more flavor than just bread. Garlic and herbs, maybe? I considered cheddar, but I haven’t yet made them with cheese, so I can’t promise how that will turn out.
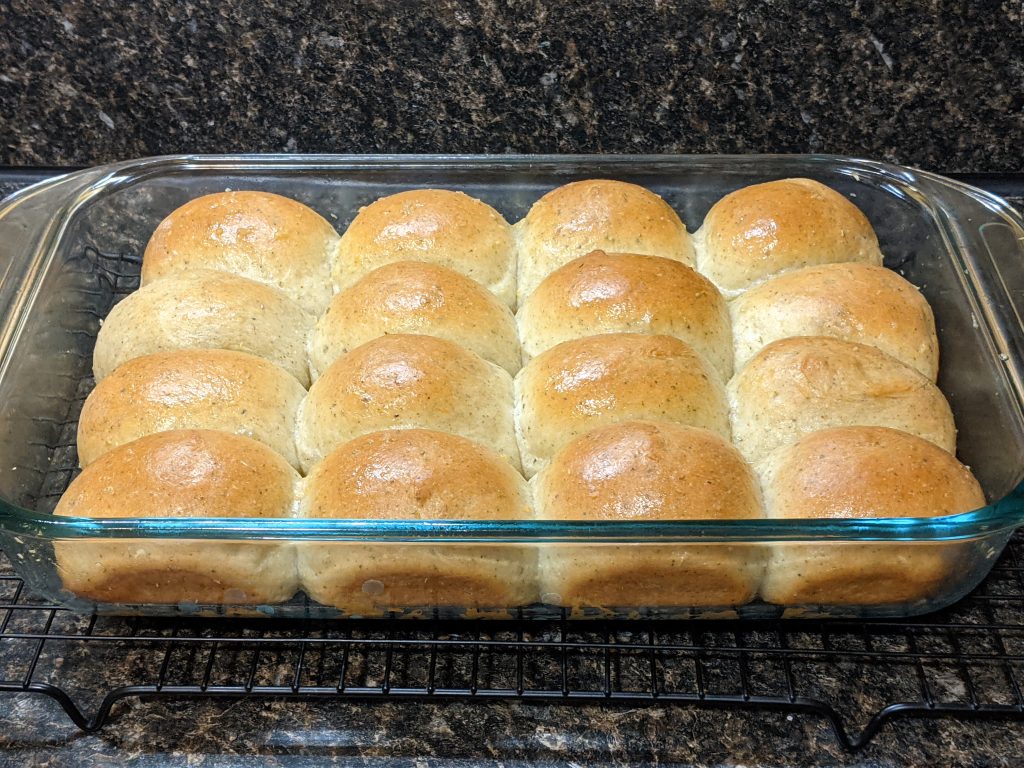
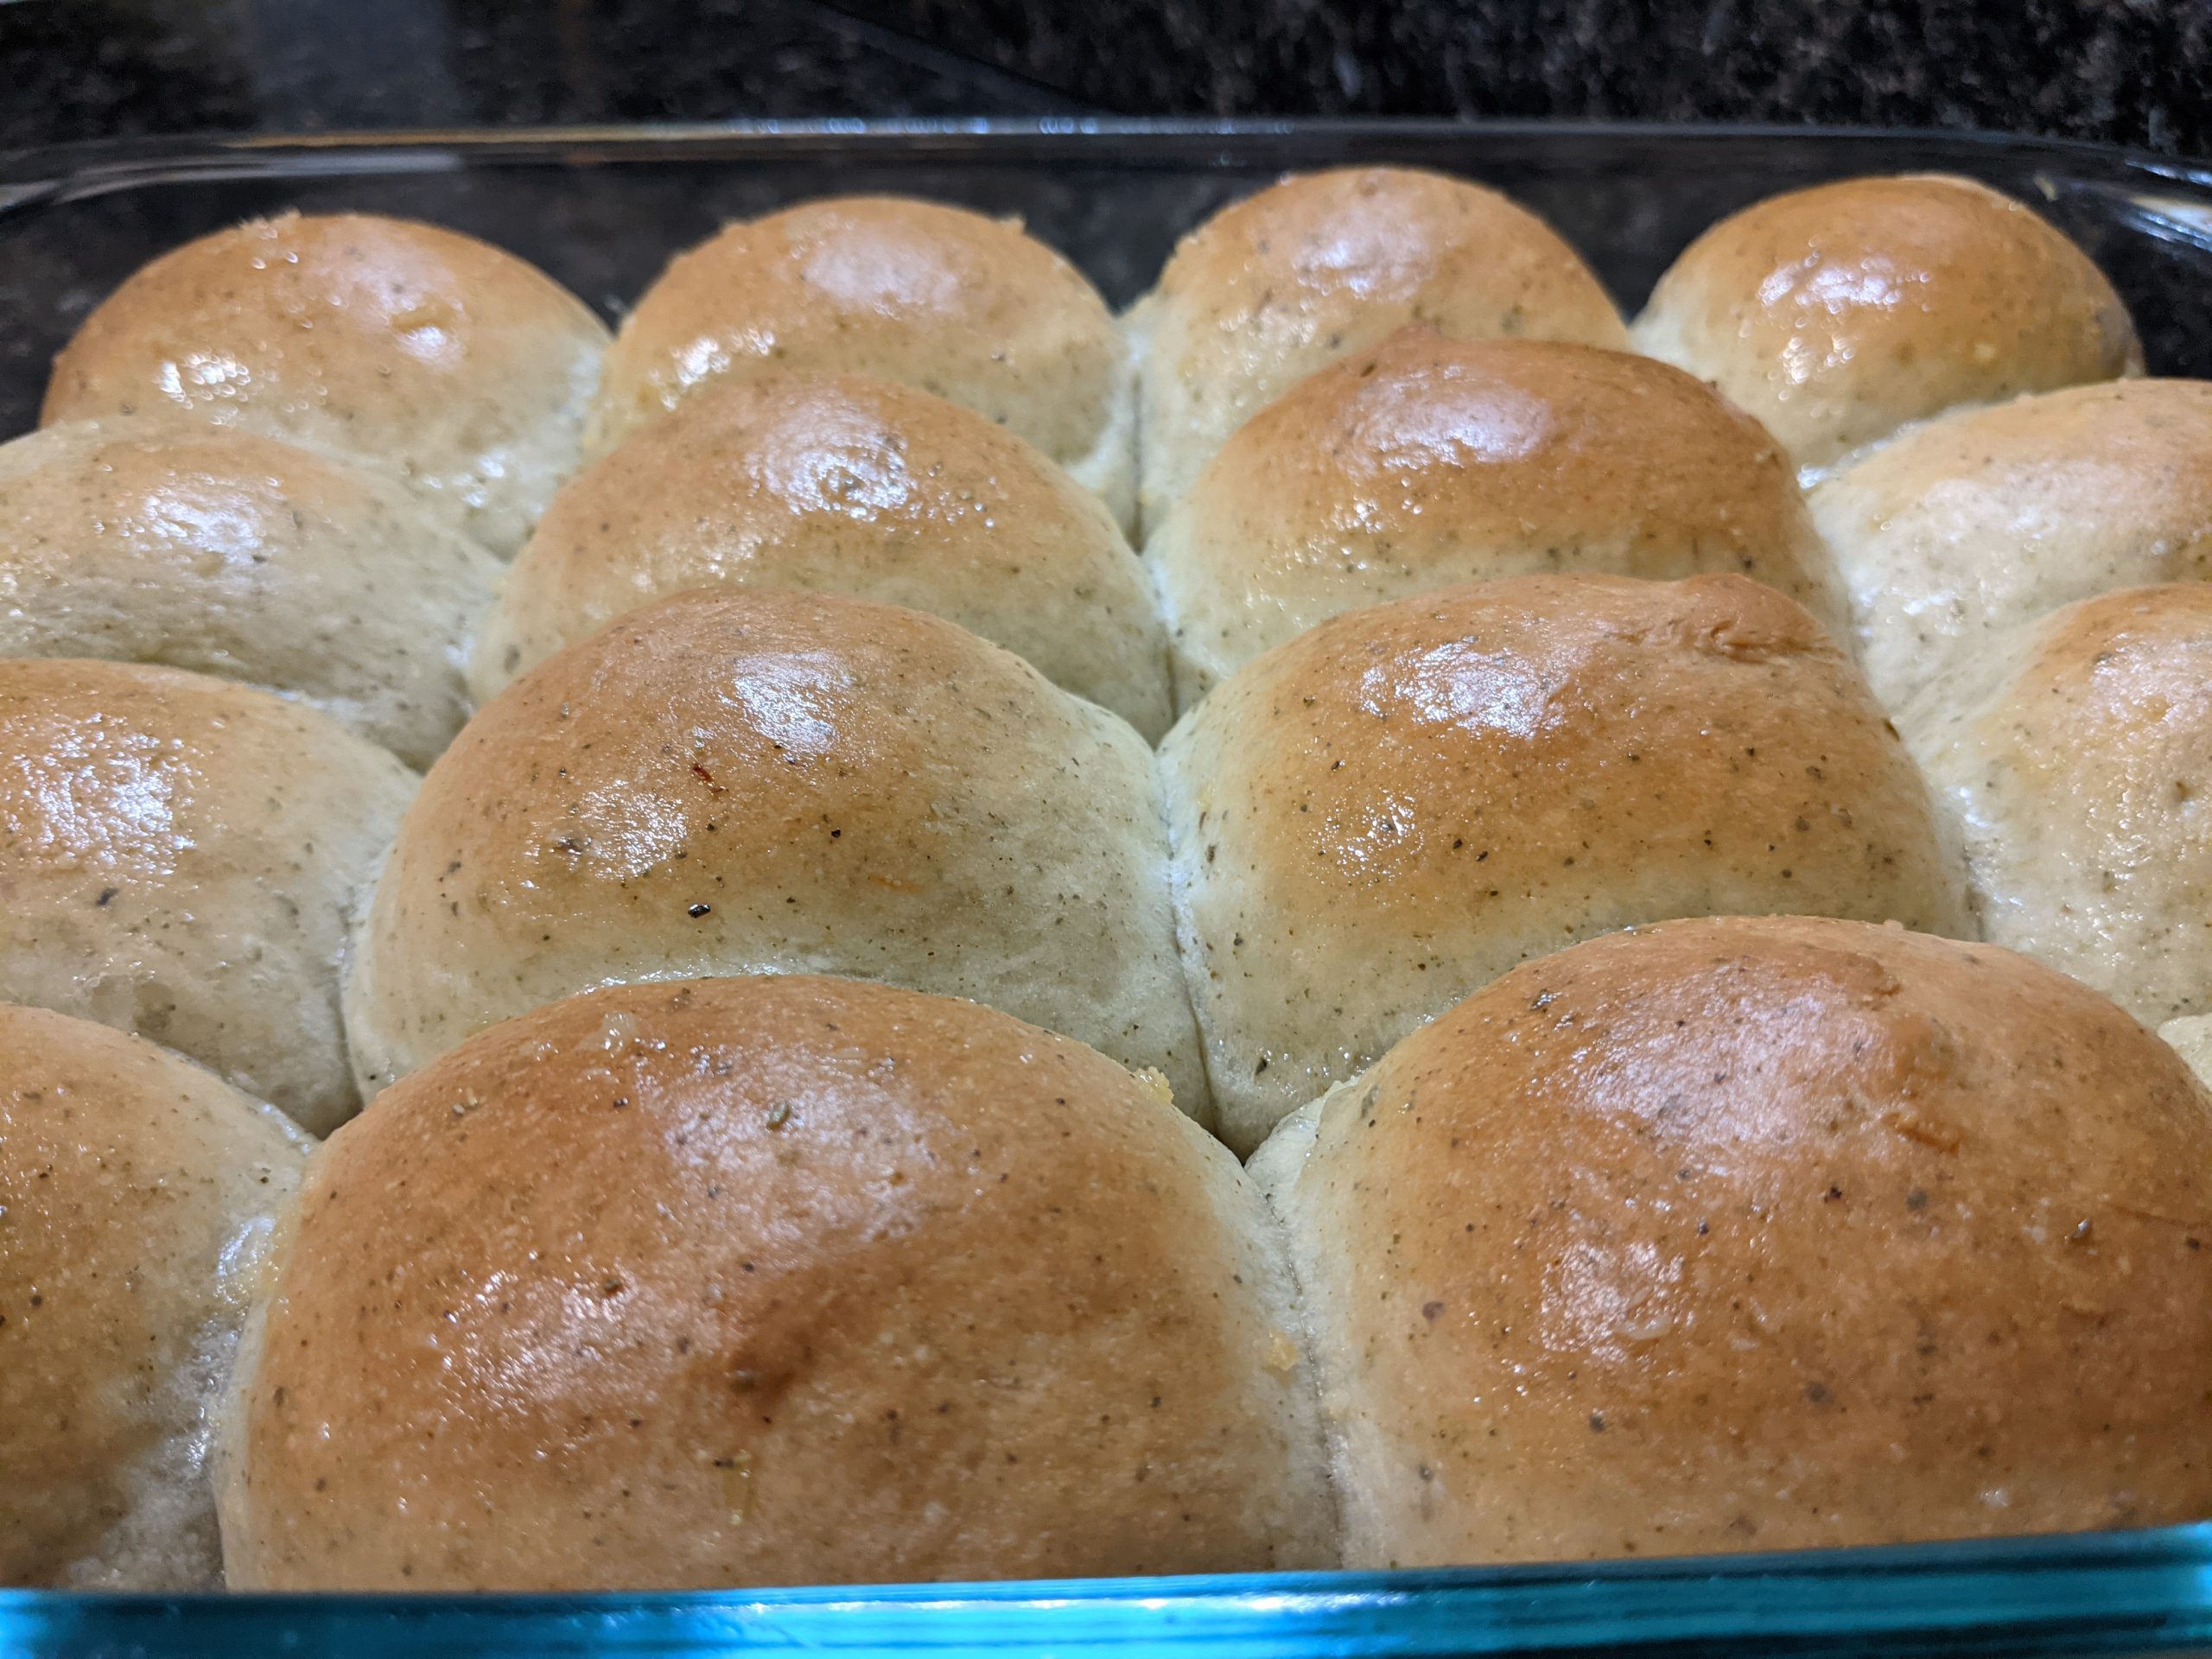
The recipe I found was pretty similar to the one I’ve written below, but I’ve made several of my own alterations. For one thing, I use seasoned salt instead of plain table salt. I add herbs to the flour, so they’re incorporated into the dough. I top them with garlic butter to give them the shine you see in the picture above.
Overall? I would rate them… near-perfect. They aren’t quite there — I need a bit more practice and another iteration or two for that — but they’re some of the best dinner rolls I’ve ever made. I will, I promise, edit this post with any future alterations I make.
I detail the exact process for making the rolls in the recipe box down below. As for my tips, here’s the biggest one: get a spice grinder! We bought one recently, and oh boy does it help a lot. I love the flavor of rosemary, but those little spikes of herb are just annoying, but the pre-ground stuff loses flavor too quickly.
I used to crush rosemary up in a mortar and pestle (and I still do, when I’m using smaller amounts) but for a recipe like this, giving it a blitz in the spice grinder is essential. It incorporates better, and you’re never going to pick a spike of rosemary out of your gums.
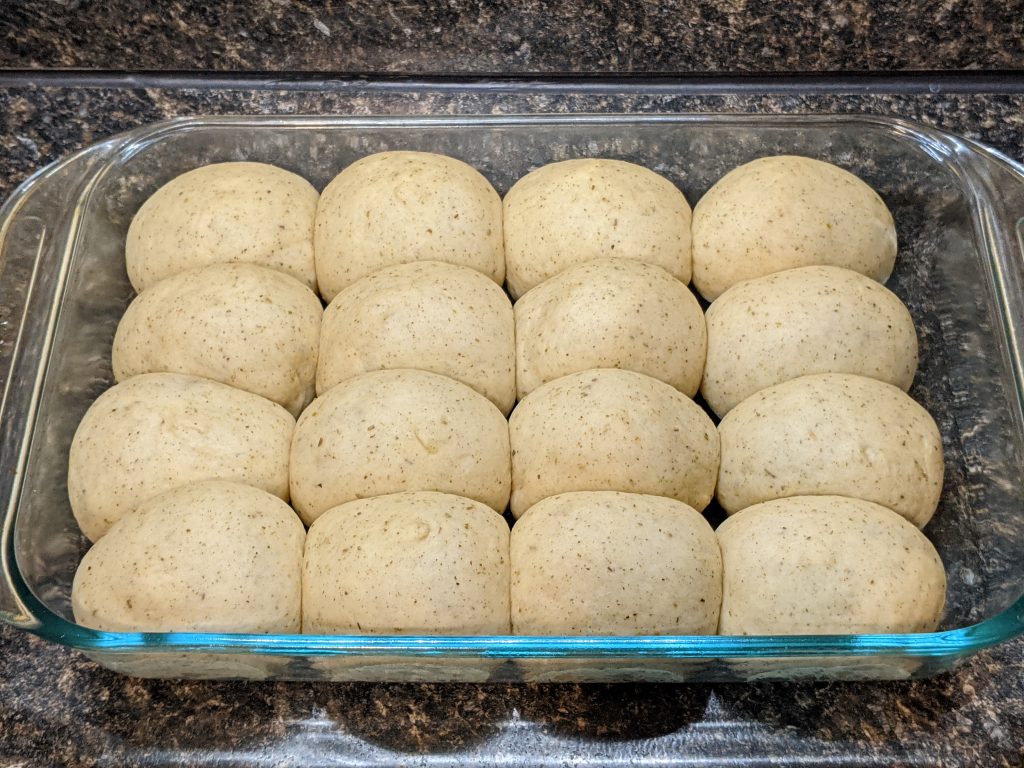
I honestly could have let these rise a little more, to decrease the space between them and make them a little fluffier. I thought they were fine the way they were, though, and it’s often quite chilly in our house, so it takes longer to let dough rise. Oh well!
These rolls are a perfect side dish for any meal. One of them is a good accompaniment to a chicken-and-veg dinner. Two of them make a side of their own. They can even function as makeshift slider buns when cut in half, though they do absorb liquids very easily.
You can make all kinds of alterations to this recipe too. Don’t want garlic? Just use butter for the top and leave out the garlic powder. Want a different selection of herbs? Just add whatever you like. You can’t go wrong!
Garlic and Herb Dinner Rolls
Equipment
- Baking Dish
- Mixing Bowl
- Stand Mixer
- Mortar and Pestle (Or Spice Grinder)
- Sauce Pan
- Basting Brush
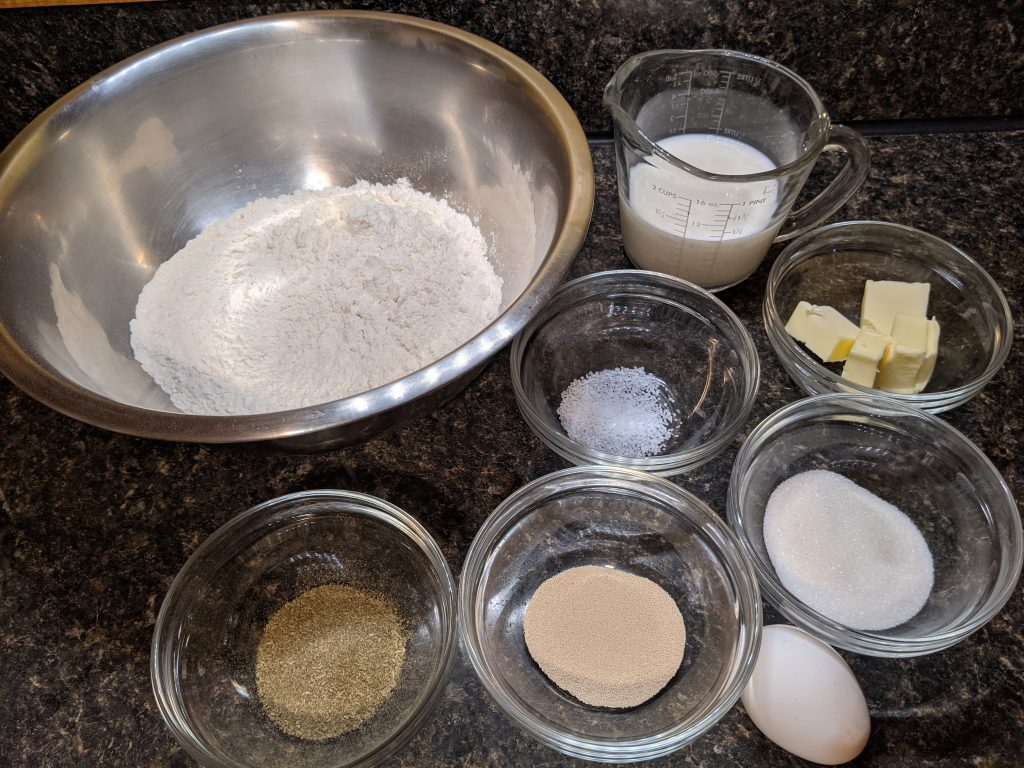
Ingredients
- 1 Cup Whole Milk Warmed to about 110°F
- 2¼ Tsp Yeast One packet works
- 2 Tbsp Sugar
- 1 Egg
- ¼ Cup Unsalted Butter Softened
- 1 Tsp Kosher Salt Table salt also works, but use a bit less.
- 1 Tsp Garlic Powder
- 1 Tsp Thyme
- 1 Tsp Rosemary Crushed in the mortar and pestle or spice grinder
- 3 Cups Bread Flour AP Flour also works
- 1 Tbsp Oil Olive oil or canola are fine
- 2 Tbsp Melted Butter Salted works best
- 2 Cloves Garlic Minced
Instructions
Make the Dough
- In a mixer bowl, whisk together milk, yeast, and 1 Tbsp of sugar. Cover and let sit for 5 minutes to wake up the yeast.
- To the yeast mixture, add the remaining sugar, the egg, the unsalted butter, and 1 Cup of flour. Mix on low using a dough paddle or hook for about 30 seconds, scraping the sides to keep it all incorporated.
- Add the remaining flour, garlic powder, and herbs, and beat on medium speed until the dough comes together; about 2 minutes.
- Knead the dough in the mixer for about 2 more minutes. You can knead by hand if you prefer; I like using my mixer.
Rise, Shape, Rise
- In a large mixing bowl, add the oil to grease it. Add your dough and turn to coat with oil.
- Cover the bowl with a clean towel and put in a warm place to rise. I like to turn my oven on to "warm" for a few minutes, then turn it off and put the dough inside with the door cracked.
- Allow the dough to rise until doubled in size, about 1-2 hours.
- Grease a 9×13 baking pan with butter or non-stick cooking spray.
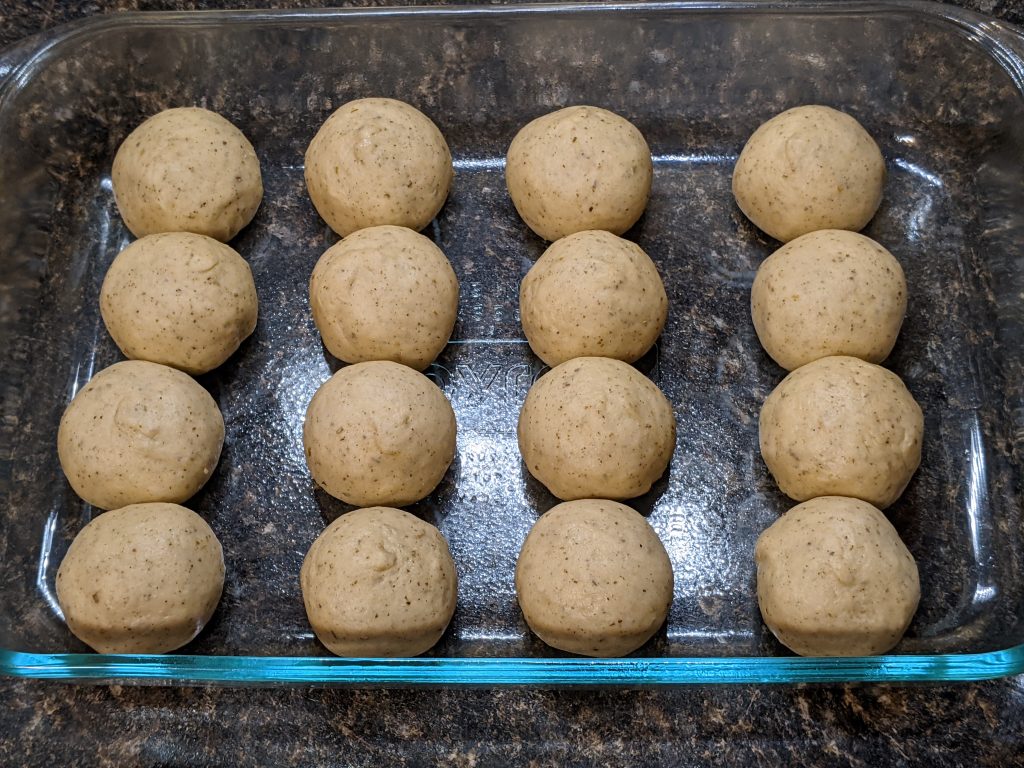
- When dough has doubled in size, punch it down, then divide it into 16 equal pieces. Adjust the size of the pieces for more or fewer rolls according to taste. You can simply tear it apart, or use a pastry cutter to cut it.
- Shape each piece into a smooth ball and place in the baking sheet. Cover the sheet with your towel and let rise again, about 1 hour.
Bake!
- Preheat your oven to 350°F.
- Remove the towel from the rolls and put them in the oven to bake. Bake for about 20-25 minutes, or until the top has turned golden.
- While the rolls are baking, melt your butter and cook some minced garlic (I do about 1-2 cloves for this purpose).
- When the rolls are done, brush the tops with garlic butter. Allow them to cool for a few minutes before removing from the pan and eating.
These look delicious! There’s nothing better than some glossy and buttery dinner rolls fresh from the oven. I’m not a fan of rosemary (both the spikes and the flavor itself) so I’d probably leave that out.