
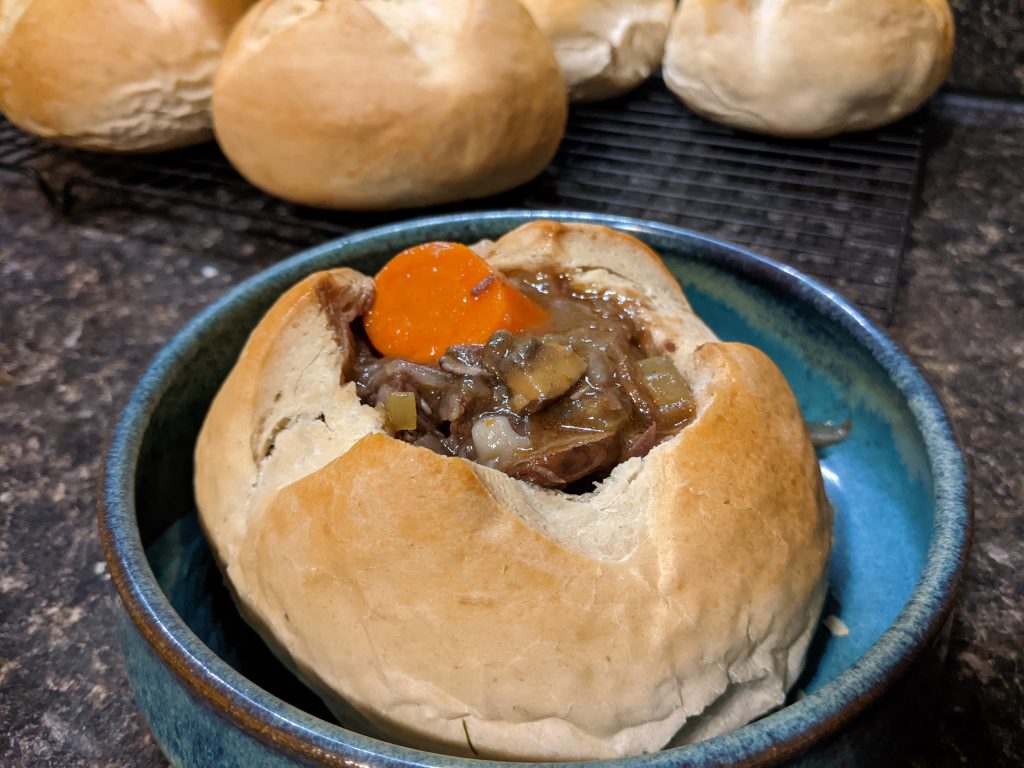
These homemade bread bowls are perfect for a soup or stew. They can also be enjoyed as rolls, and the dough can be baked in one or two chunks for Italian loaves instead.
Meal planning around our house is often what you might call haphazard. Sometimes we prep thing ahead of time, but that’s usually either meals for the sous vide, or big holiday meals. Other times, we buy ingredients and decide what to do with them later.
This is one of those latter cases. We decided we wanted to do something with some beef stew meat we had purchased and frozen a while back. The obvious solution was, of course, beef stew. Stew is great, and all, but then my partner mentioned something that gave me an idea.
Years ago, before we met, he had made bread bowls for a soup meal he and his roommates had made. They turned out “alright”, he said, and I decided I could do better. And what better time to bake bread bowls than to go with some beef stew?
This post isn’t about the stew, but trust me, it turned out great.
I decided to show him how a real bread bowl is made. I looked up a few recipes online and aggregated their ideas together into what you see below. All in all, it’s a pretty simple Italian bread recipe, divided up into individual loaves that can be hollowed out to make bread bowls and filled with stew, or soup, or whatever you like.
The addition of rosemary made the bread a little less bland on its own, though I would probably add more next time. I’m also considering some other herbs, or maybe even some roasted garlic. Yum!
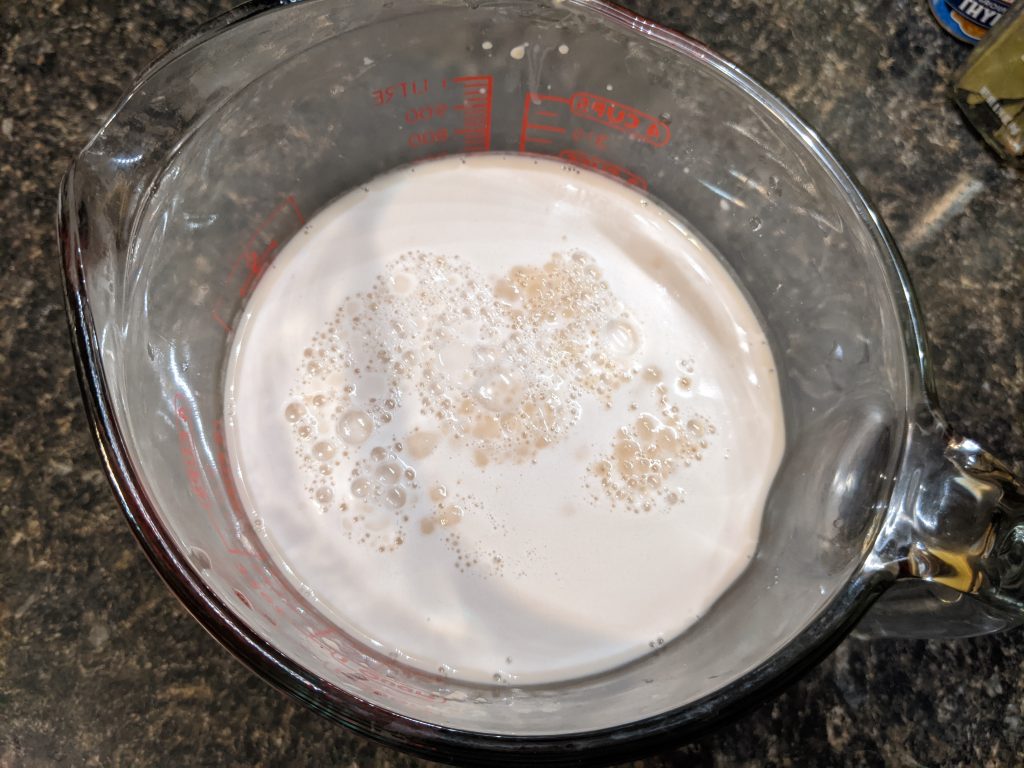
So here’s how you do it. Step one is to proof some yeast. If you asked me a few years ago how to do that, I wouldn’t have been able to tell you, but it’s actually pretty easy. Warm water, yeast, and some sugar to feed it is all you need.
Mix that up with your dry ingredients to make a dough. You can do this by hand, and I’ve definitely done so, but you know what? Life’s too short for that. A stand mixer should be a staple in every baker’s kitchen. It’s not perfect for everything, and sometimes it’s a pain to set up, but I love it. It saves a lot of time, not to mention wrist pain. I personally use a KitchenAid Artisan (that’s an affiliate link, btw; if you buy one through it, I earn a buck or two). It’s small enough for my needs, but powerful enough to knead some thick dough without complaint.
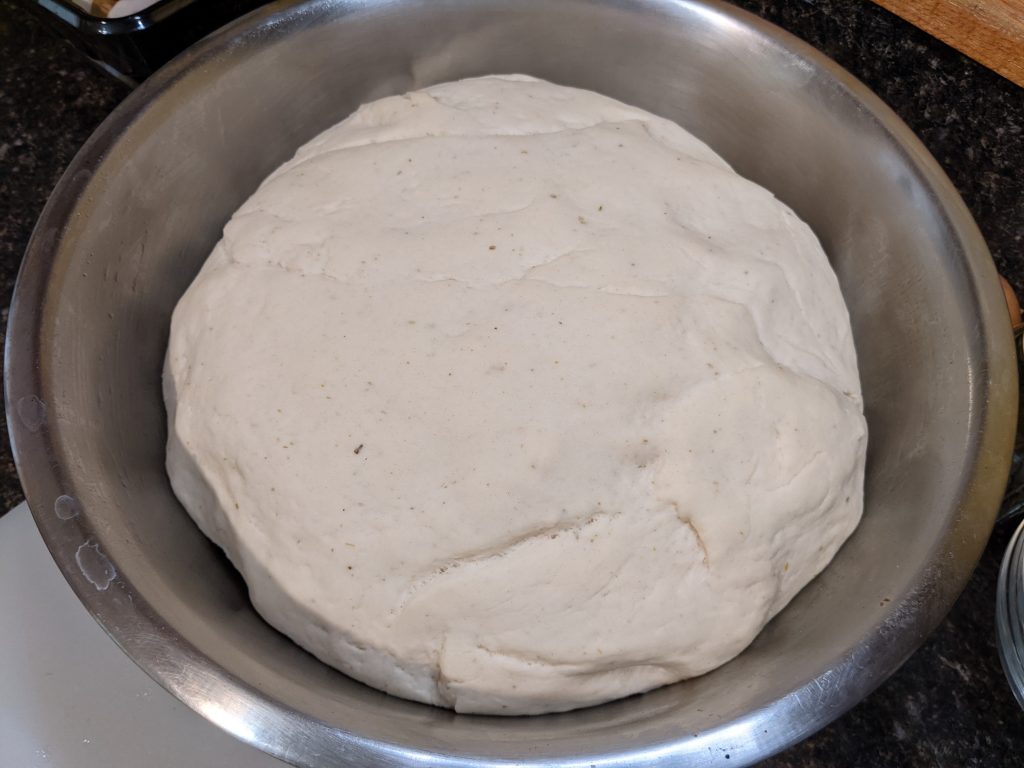
Once you have your dough all kneaded and pretty, let it rise. How long you need to let it rise depends on the ambient temperature and humidity in your house, as well as the health of the yeast, but it’s generally around 30-45 minutes. I usually have to let things rise a little longer than recipes call for, unless I use a little trick to mimic a proving drawer like they have on those baking shows. Preheat your oven to its lowest setting, then turn it off. The interior will be nice and warm, but too cool to actually cook the dough. Keep the door cracked so it doesn’t stay too warm, and it’s perfect.
Once your dough is risen, you want to lightly punch it down. Not too much, or you might make the rolls too dense. Divide the dough into eight pieces for bread bowls (or whatever other number you want for other purposes; it’s a flexible dough.)
Here’s where I made my one mistake. When you form the rolls, you want to cut an X into the top. This allows them to expand upwards when they rise again, makes them look prettier, and gives you a nice target for cutting the top off. The thing is, I cut the X about twice as deep as you’re supposed to. Hey, my mistake! I’ve never really done a bread you score before.
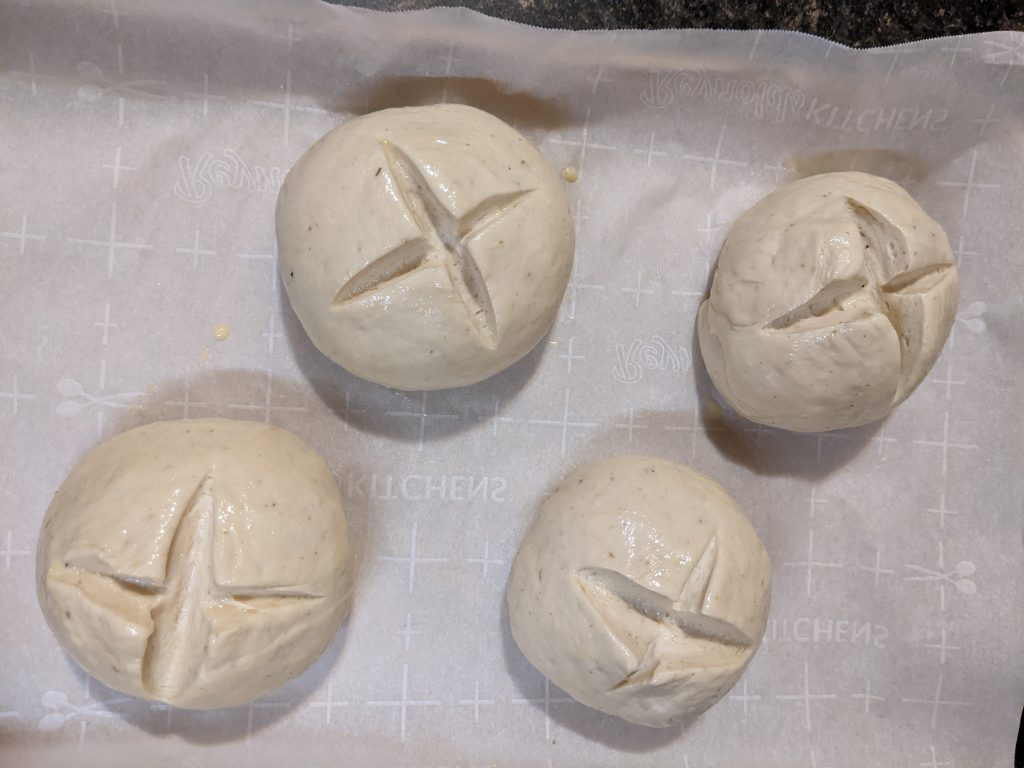
This isn’t a terrible problem. It made the resulting Xs on the baked rolls larger than they should be, but you know what? It’s still delicious. I didn’t cut so deep they didn’t rise, so there was still plenty of internal fluffiness to scoop out and replace with stew.
Once you’ve scored the bread, cover with plastic and let them rise again. This brings the rolls to their final size before baking. You can also brush on an egg wash now; it absorbs into the dough and helps them bake a golden brown.
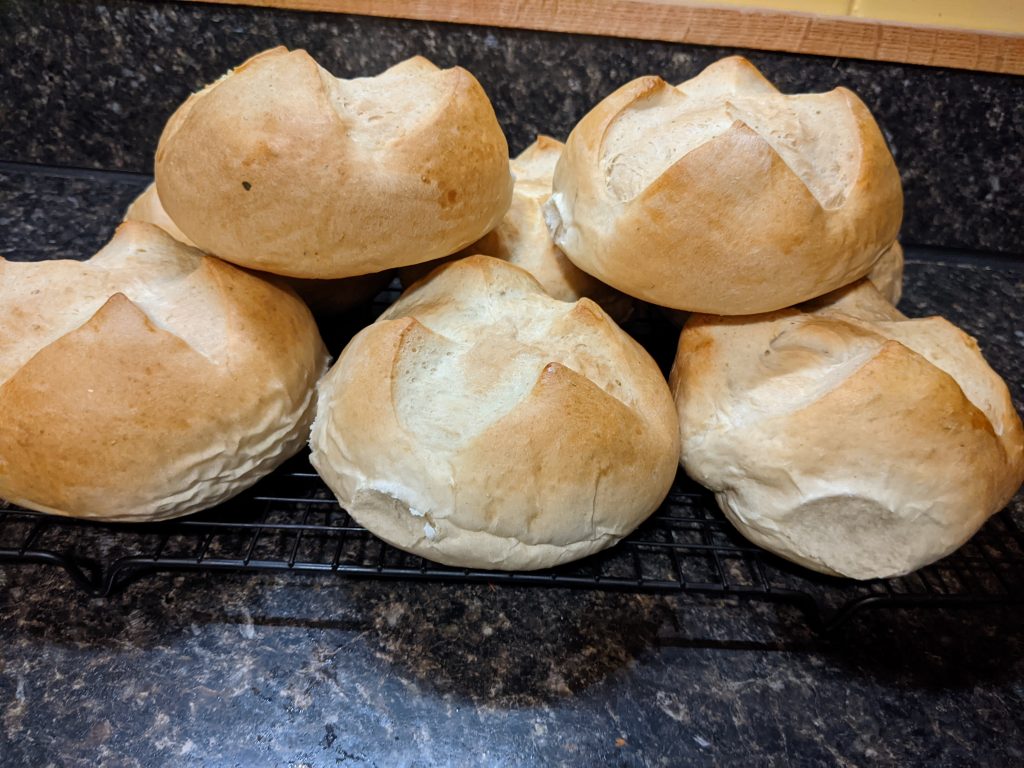
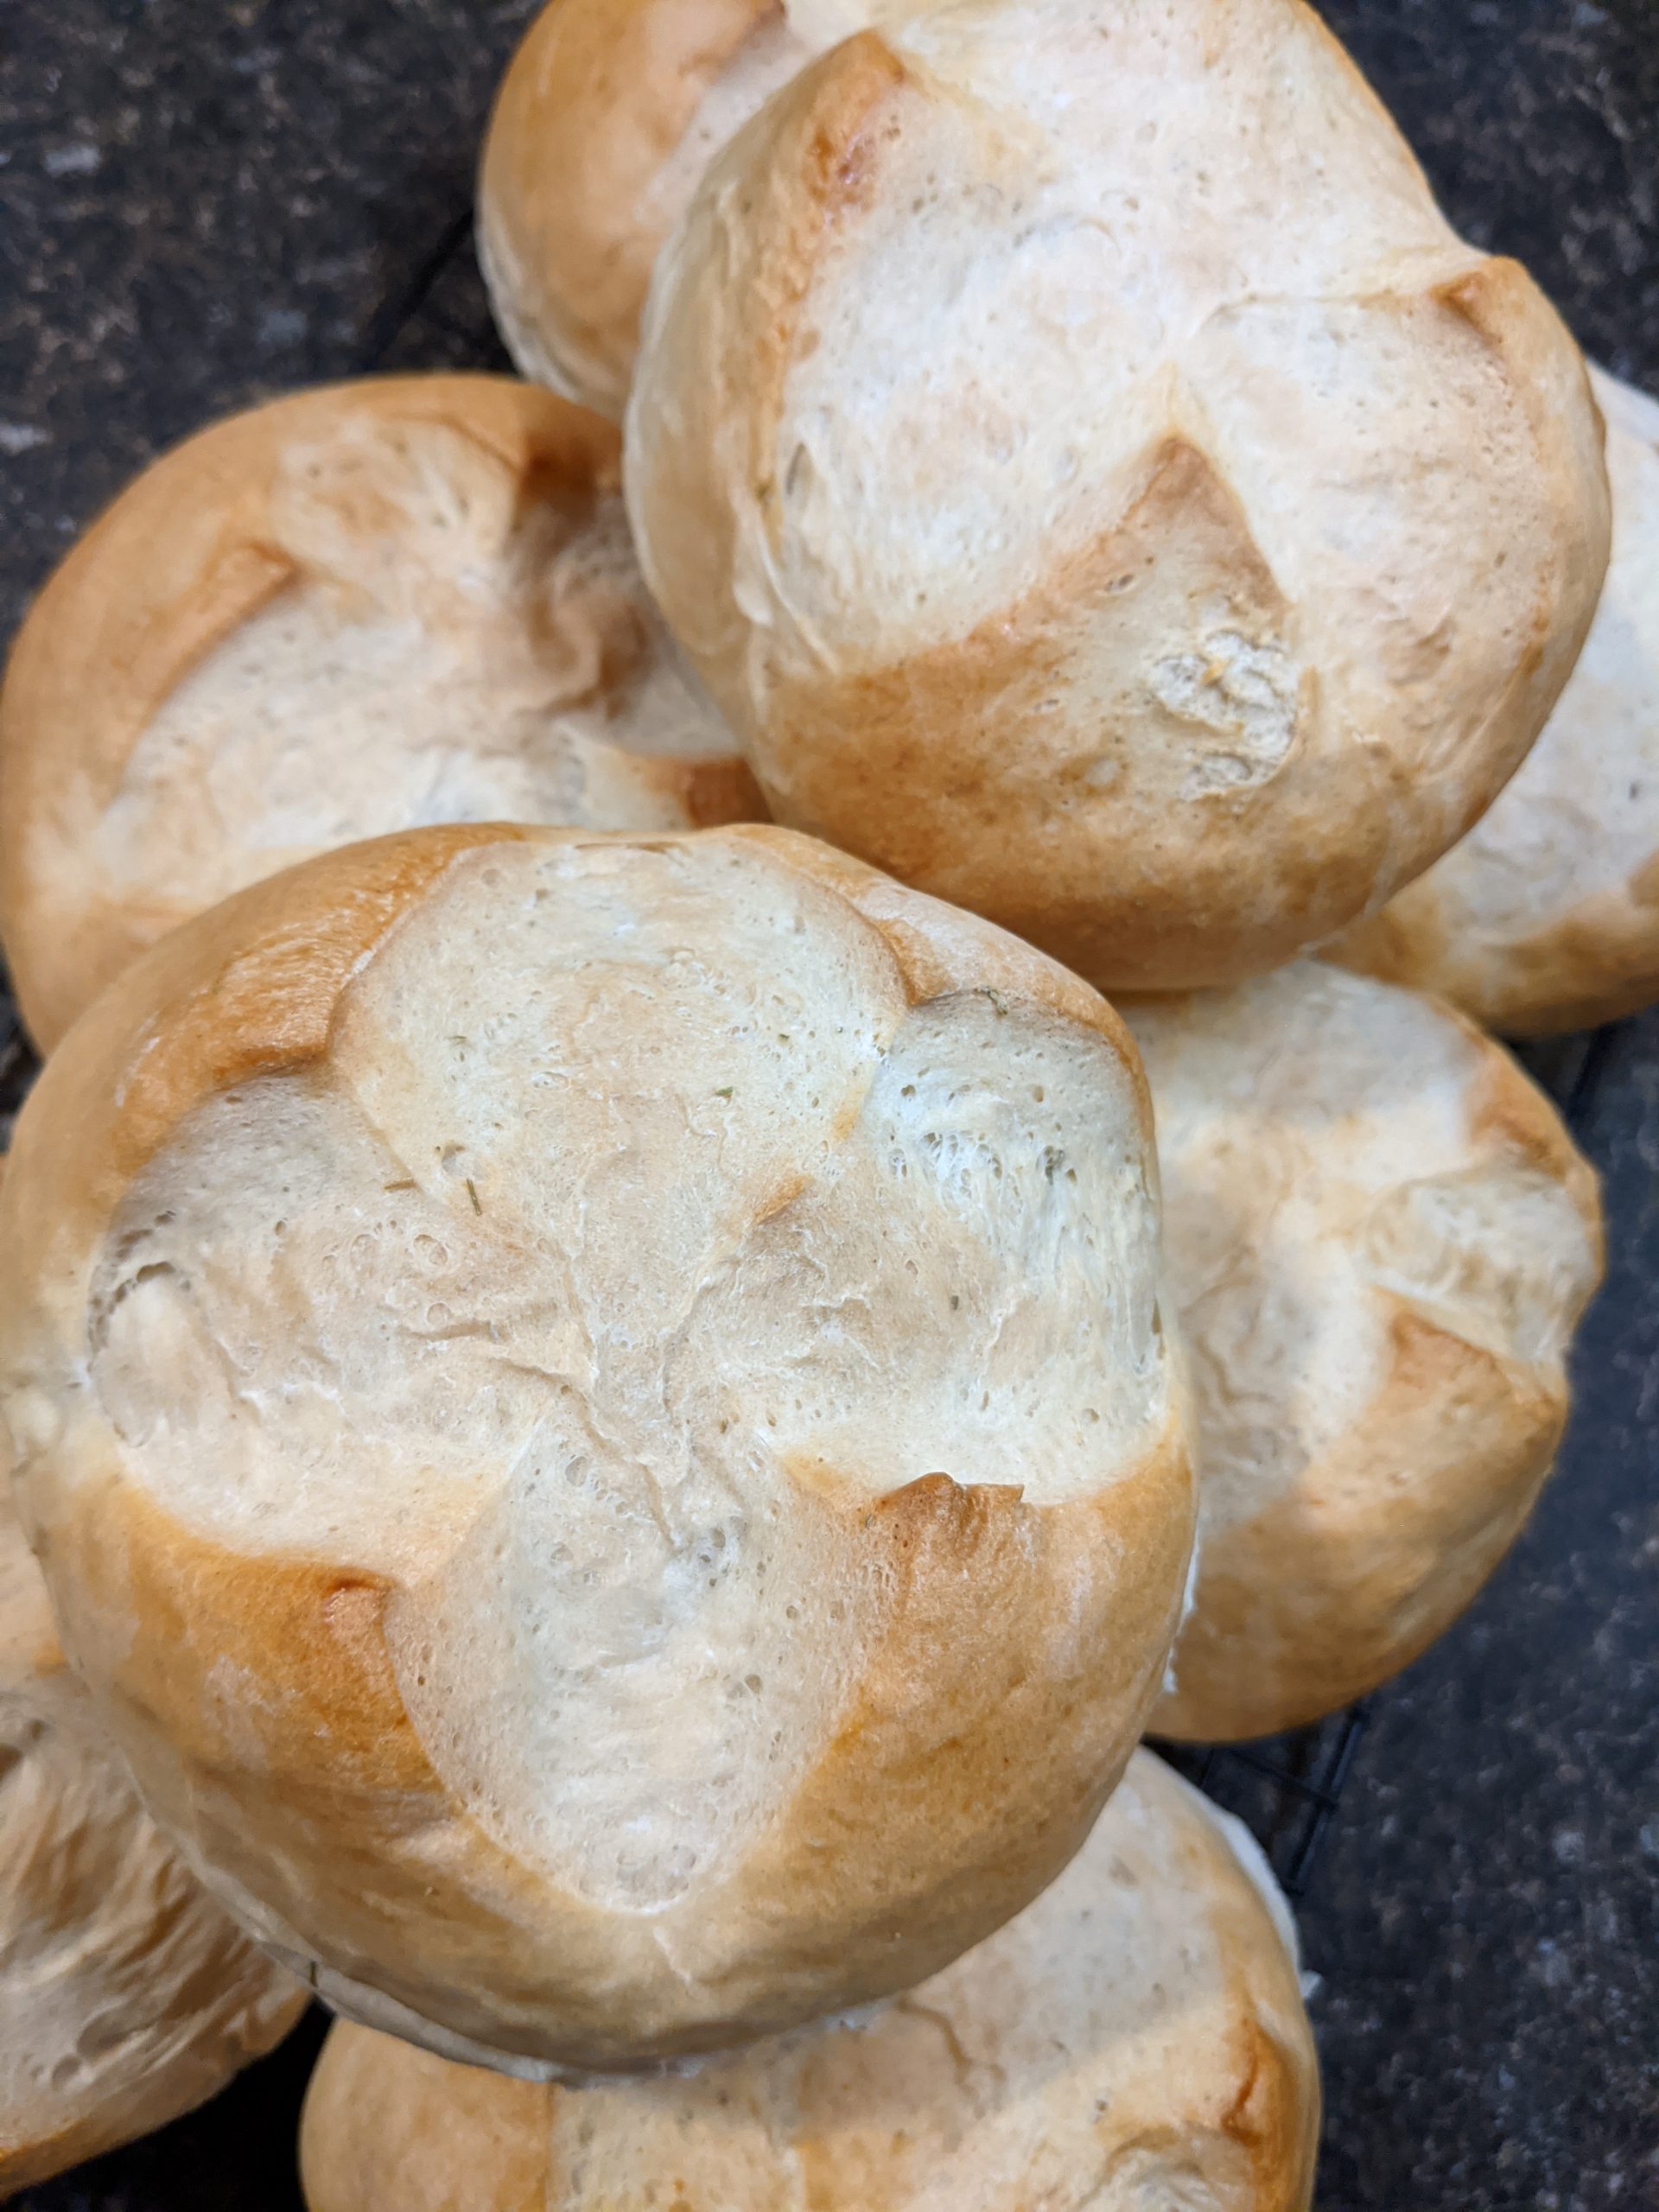
Once they’ve risen, discard the plastic and pop ’em in a 400 degree oven. It only takes about half an hour to bake, and then you have some tasty, crusty, delicious bread bowls. Check this out:
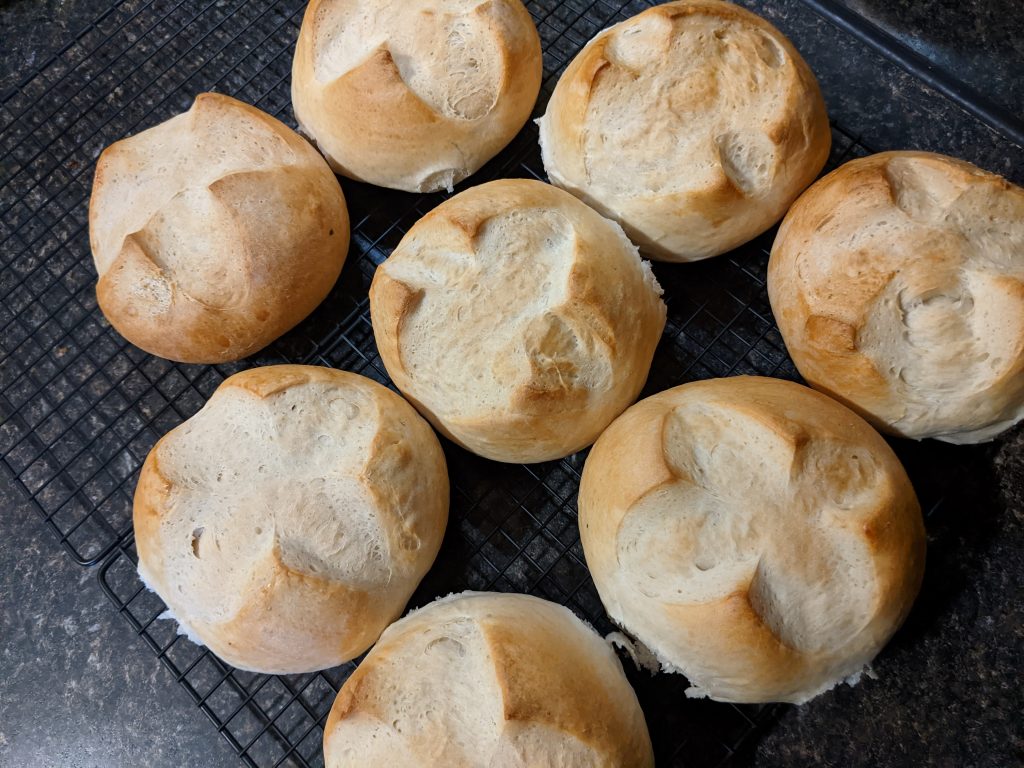
That’s all there is to it! You can use the dough for rolls, bake it into loaves, or follow the full recipe for bread bowls. To carve out the bread bowls, I used a sharp serrated knife to carve a hole like I would in a pumpkin. Scooping out the insides and replacing them with stew is easy enough, since it’s nice and soft bread. They’re also very easy to reheat in the oven for the next day.
Rosemary Bread Bowls
Equipment
- Stand Mixer
- Mixing Bowl
- Baking Sheet
Ingredients
- 3 Cups Warm Water About 95 degrees F
- 1½ Tbsp Active Dry Yeast About 2 packets
- 2 Tbsp Granulated Sugar
- 1 Tbsp Salt
- 4 Tbsp Butter Melted
- 8 Cups All-Purpose Flour Plus or minus some, see recipe
- 1 Tbsp Milk
- 1 Egg
- 3 Tsp Rosemary
- ½ Tbsp Olive Oil
Instructions
Proof the Yeast
- Combine the yeast, water, and ½ tsp sugar in a bowl. Stir to dissolve the yeast and cover with a clean towel for about 5 minutes. The mixture should look foamy.
Make the Dough
- In your mixer's bowl, add the yeast mixture, butter, sugar, salt, rosemary, and 3½ cups of flour.
- Mix on low using a dough hook attachment.
- Slowly add more flour until the dough starts to pull away from the sides of the bowl.
- Increase the speed of the mixer to knead the dough for about five minutes. The dough should no longer be sticky to the touch. If it still sticks, add a little more flour and continue to knead.
- Knead for an additional 2-3 minutes.
- Lightly oil a mixing bowl. Transfer the dough to the bowl, flipping to coat in oil. Cover the dough bowl with a towel and let rise until doubled in size, about 45 minutes.
Divide and Rise
- Using a knife or pastry cutter, divide the dough in half. Divide each piece in half again, until you have eight total portions.
- Gently press the dough to remove excess air, then fold into a tight ball.
- Place the dough ball on a baking sheet, ensuring any folds or creases are on the bottom.
- Using a sharp knife, lightly score a small X across the top of the dough balls.
- Beat together the milk and egg to make an egg wash. Using a brush, lightly brush the dough balls with the egg wash.
- Cover the dough balls with plastic wrap and let them rise until doubled, again about 45 minutes.
Bake
- Preheat oven to 400 degrees F.
- Remove plastic wrap and put the dough balls in the oven. Bake for 25-30 minutes or until golden.
- Remove and let cool for at least 15 minutes before cutting for bowls.
I need to get my son to make these. They look so delicious.