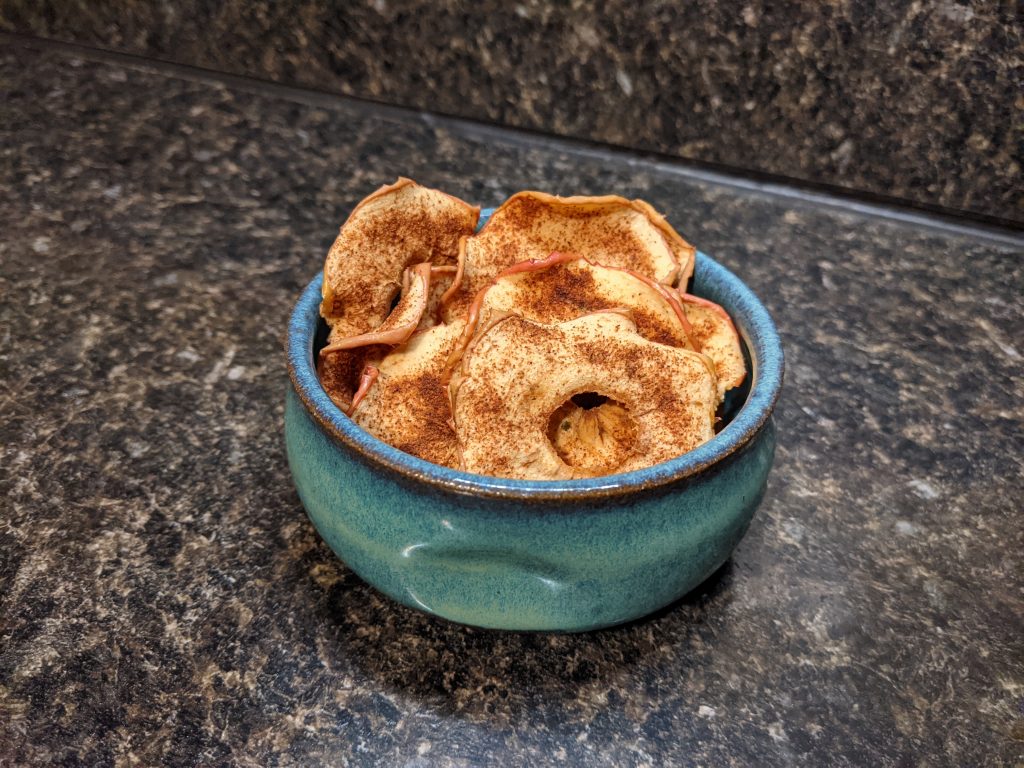
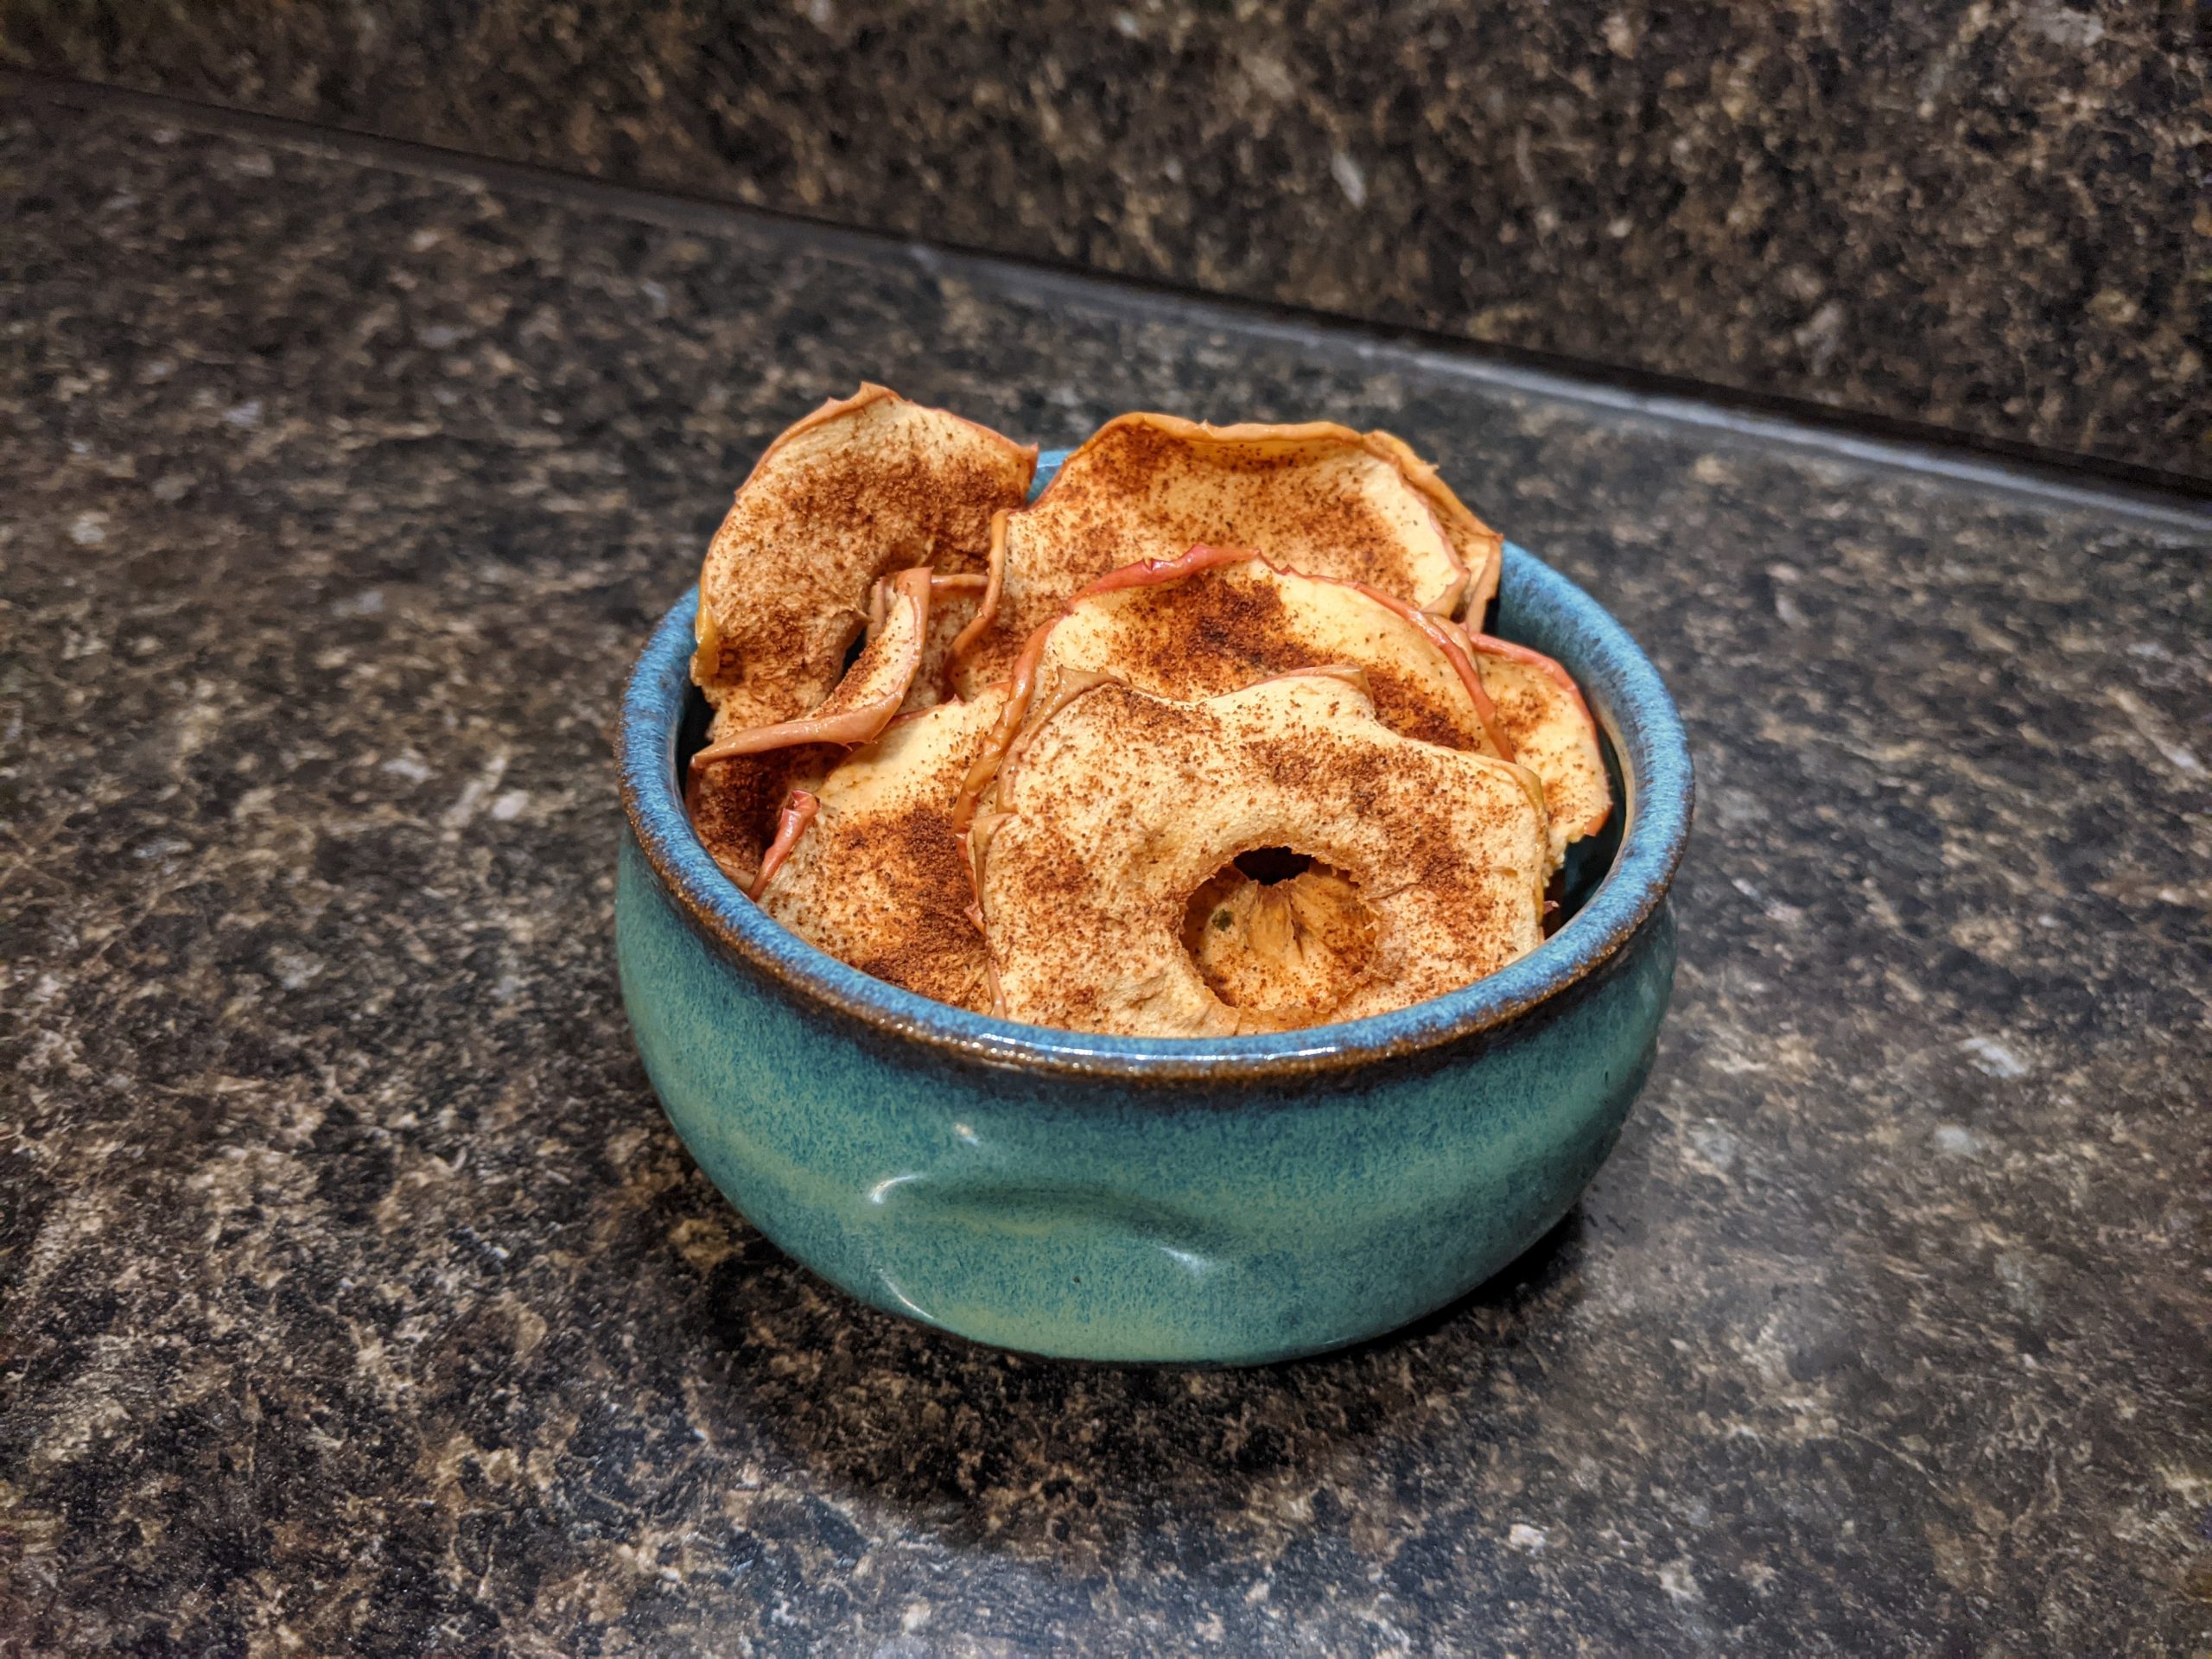
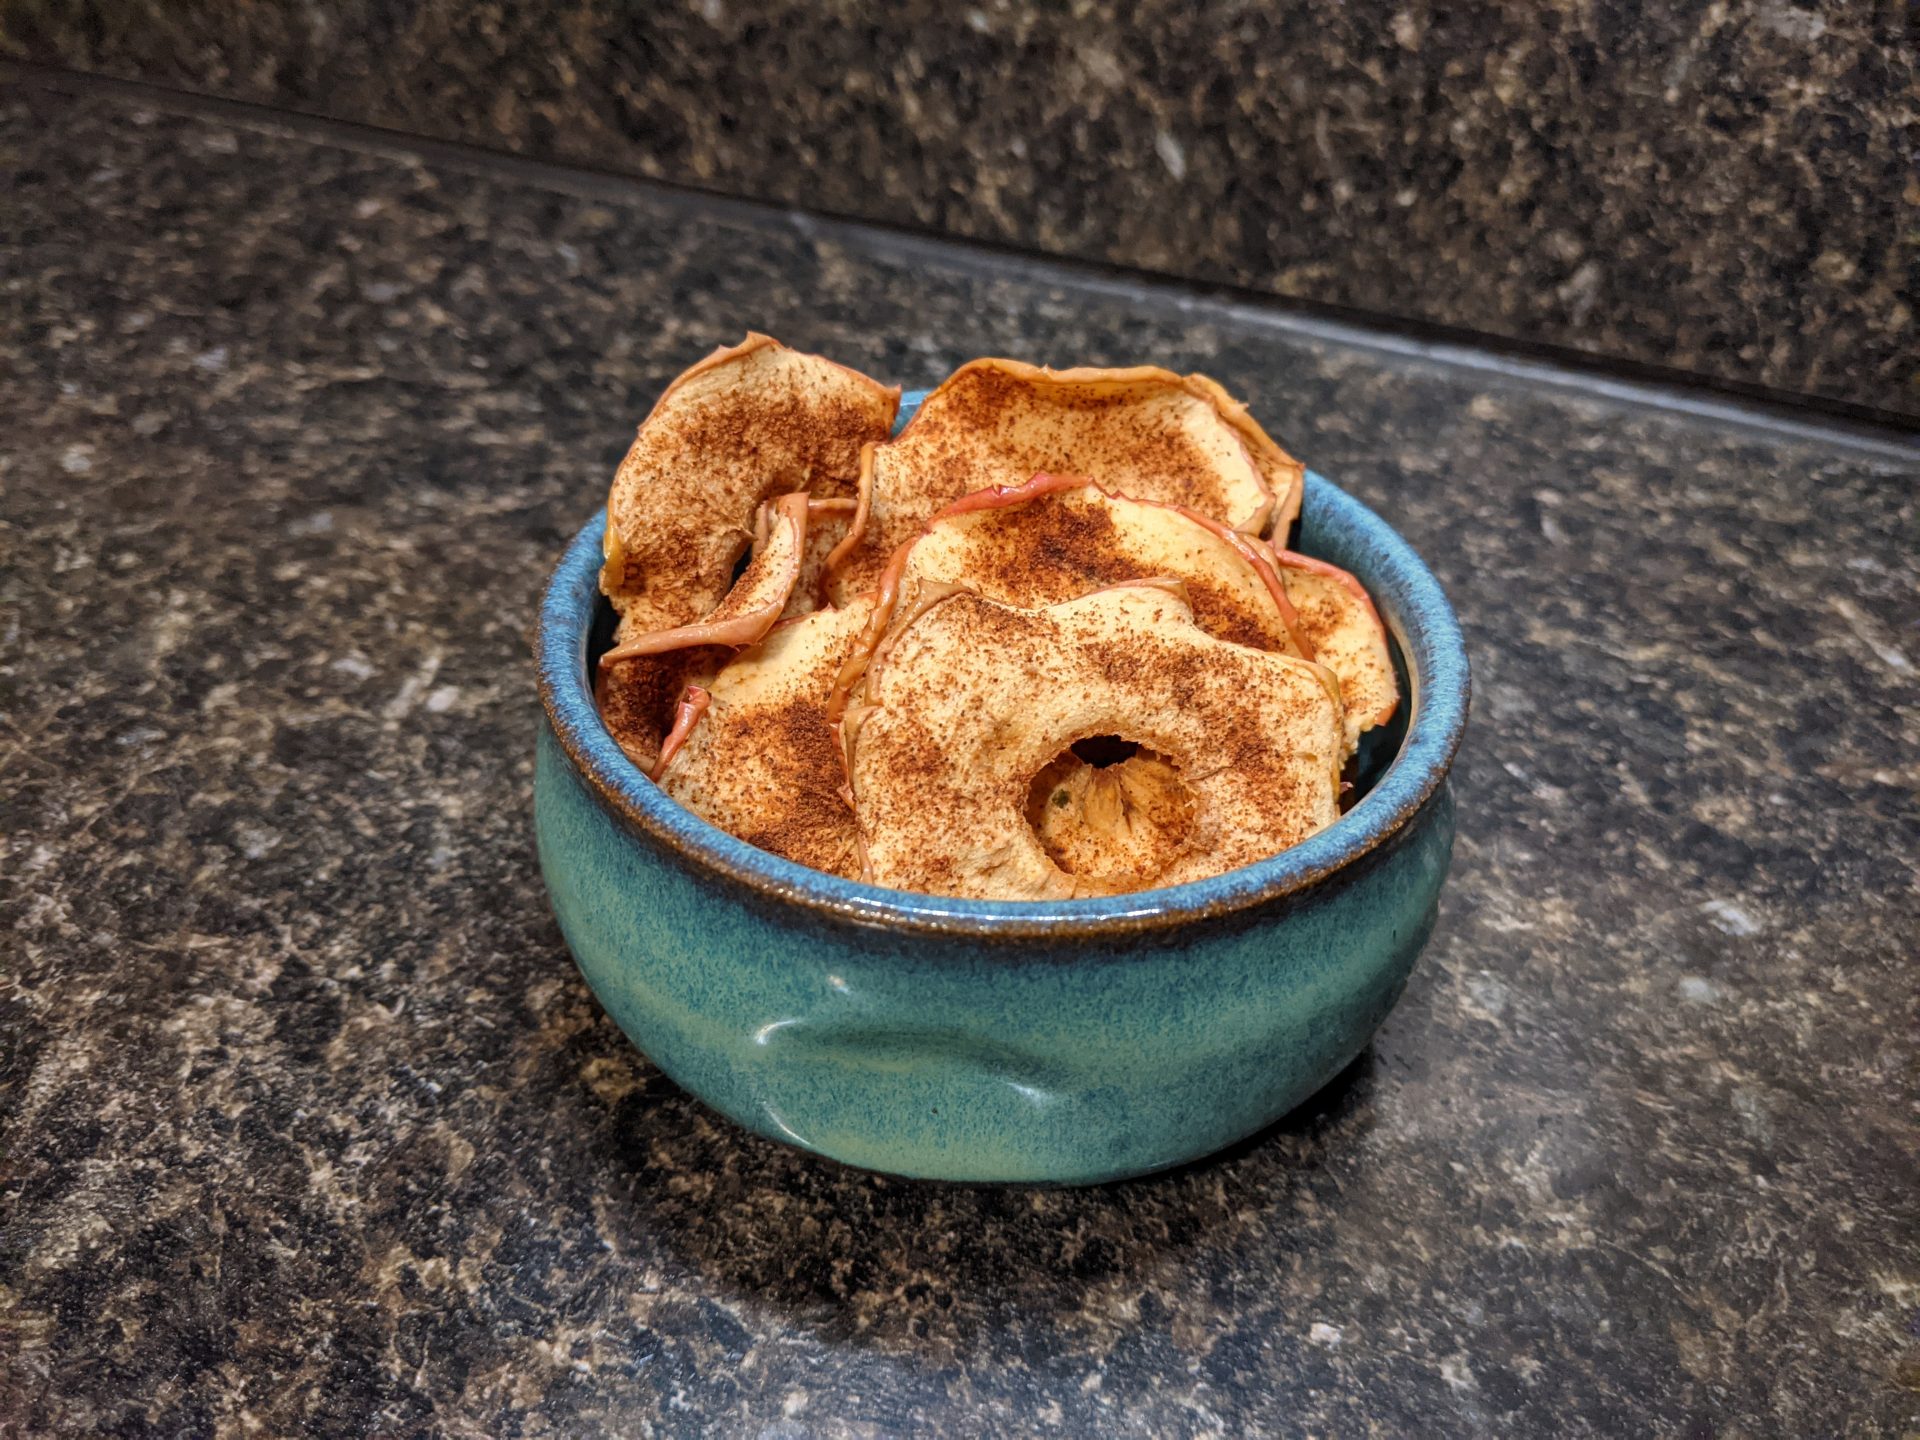
What do you do when you have extra apples?
It’s not quite apple season yet, but I’m looking forward to it. I’m always looking for new ways to use the fruits we pick up, because as good as apple crumble is, I can’t make it ALL the time.
This time, I happened to be up late and browsing food blogs, scrolling through Facebook, and generally digging through the sources of food inspiration I usually browse. I saw apple chips mentioned a couple of times, and it caught my attention, so I started looking a little deeper.

When I think of things like apple chips or banana chips, I think of a dehydrator. I don’t have one of those, though my Instant Pot has a dehydration feature, it’s still pretty small for making large batches of chips. I always figured you’d need a specialized machine to make them, so it surprised me to learn you can do it in the oven. It’s only 10 minutes of prep time, and a couple hours of cooking on low heat.
The only tricky part about this recipe is using a mandoline to slice the apples nice and thin. You might be able to do it with a knife, but I’m not confident enough in my knife skills to slice them that thin and that consistent. Mandolines scare me, though. They’re so easy to cut yourself on, and I don’t have a chain glove or anything other than the basic hand guard to keep myself safe. So, I’m very careful with them, and I advise you to be careful too.
Three Methods
One thing I noticed when I was researching this recipe is that there are three methods people use when they make apple chips like this. All of them cook the apples for the same amount of time at the same heat, but they have one difference: the surface they cook on.
- Spread evenly on parchment paper.
- Spread evenly on a silicone baking mat.
- Spread evenly on an oven-safe rack.
I wondered: what’s the difference between them? I assumed that the apple chips on the rack would crisp up more, since there’s more room for air flow above and below them.
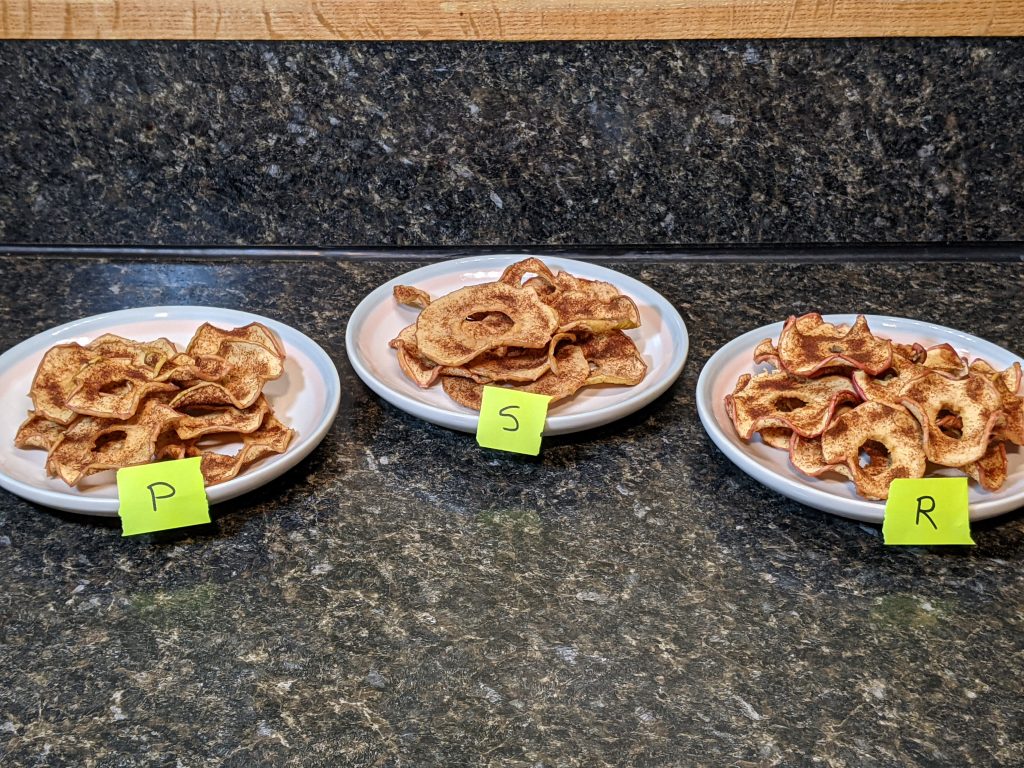
So, I tried all three! I cut up my apples, spiced them, and spread them out on three different surfaces, all ready to bake. Then, when they came out, I tasted them all.

The results? They’re… the same. There’s no tangible difference in flavor, texture, or crispiness between them. If anything, maybe the chips on the silicone mat didn’t curl up as much, but that’s about it. So, there you have it. They all work just fine, so use whichever method works best for you.

Easy Oven Apple Chips
Equipment
- Mandoline
- Apple Corer
- Baking Rack, Silicone Mat, or Parchment Paper (Your Choice)
Ingredients
- 2-3 Sweet Apples
- 1 Tsp Sugar
- 1 Tsp Cinnamon
Instructions
- Preheat oven to 200°F
- Mix the cinnamon and sugar together.
- Core the apples. Peeling them is optional, but feel free to do so if you don't like the skin.
- Slice the apples thin on the mandoline, carefully.
- Spread slices evenly on your baking surface of choice. Lightly sprinkle them with cinnamon-sugar.
- Flip slices and sprinkle cinnamon-sugar on the reverse side as well.
- Bake for two hours, flipping the slices halfway through. If they're thick, they may need a bit more time, 10-15 additional minutes.
- Let cool and enjoy!

