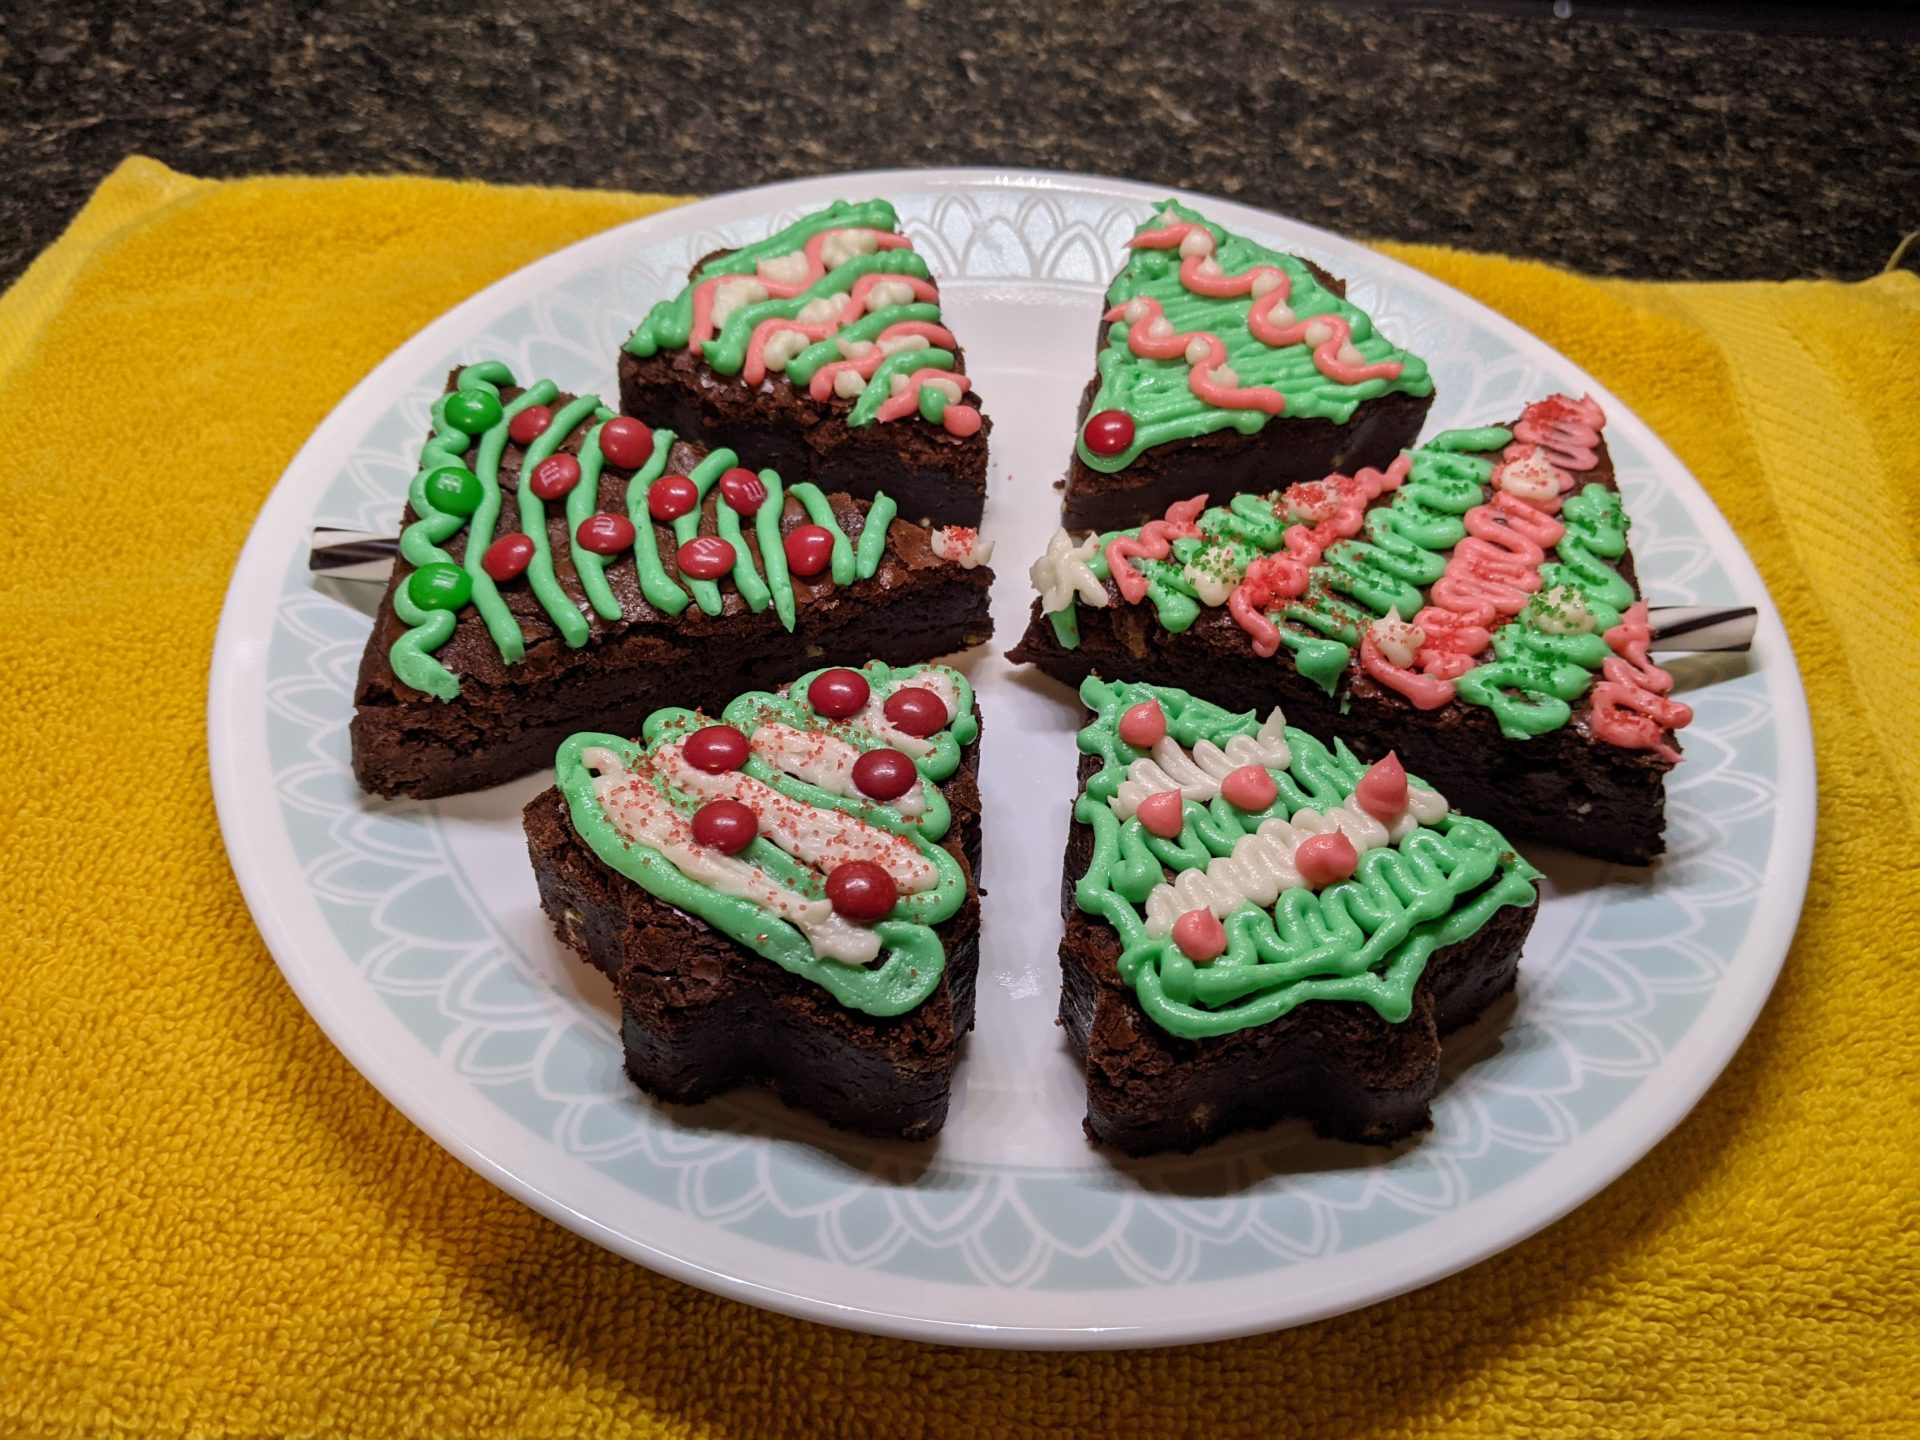
Brownies cut into simple triangles or tree shapes and decorated with colorful icing are a hit throughout the season.
I’ve felt a little guilty this year.
Every year growing up, someone in my family made Christmas cookies. My mom, my aunt, grandparents; the recipes have been handed down and used year after year. It’s not a centuries-old tradition by any means, but it was a fixture of the holidays growing up.
I’ve made the cookies before, I for some reason or another, I just didn’t get around to making them this year. I still wanted something festive for the season. That’s when a friend of mine sent me a brownie recipe, and an idea struck.
Everyone loves brownies, right? The thing is, everyone has different preferences. I like mine soft and fudgy. My partner likes his with crispier edges, and prefers a darker chocolate. Finding the right brownie recipe for us has been a sequence of experiments and recipe modifications that is, to be honest, still ongoing.
I think I struck upon a pretty good recipe this time. More importantly, we decided to decorate them for Christmas.

The best part about brownies like these is just how easy they are to make. You don’t need a mixer or any fancy tools. You can mix them up by hand, throw them in the oven, and have delicious brownies ready to eat in under an hour start to finish. You can eat them warm out of the oven, or you can decorate them like I did.
It’s also a bunch of simple ingredients you should have sitting around. Butter, brown sugar, eggs, flour, cocoa powder, salt, and whatever additions you want to make. For this recipe, I mixed in a little mint extract and some Andes mint candies in place of chocolate chips.
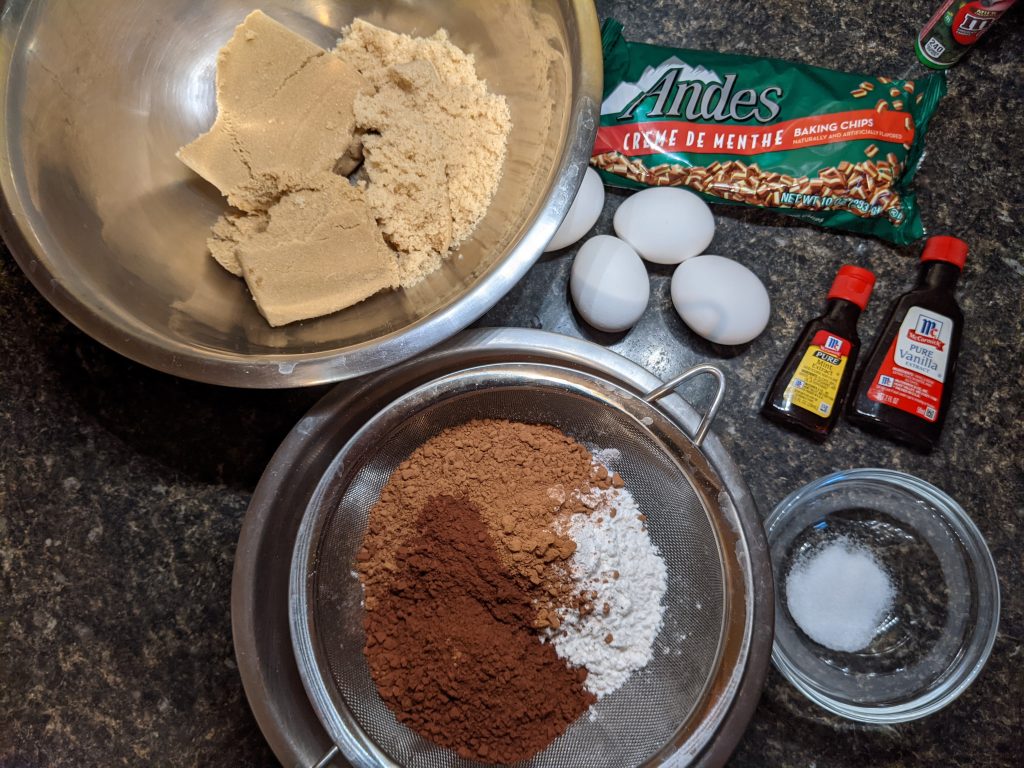
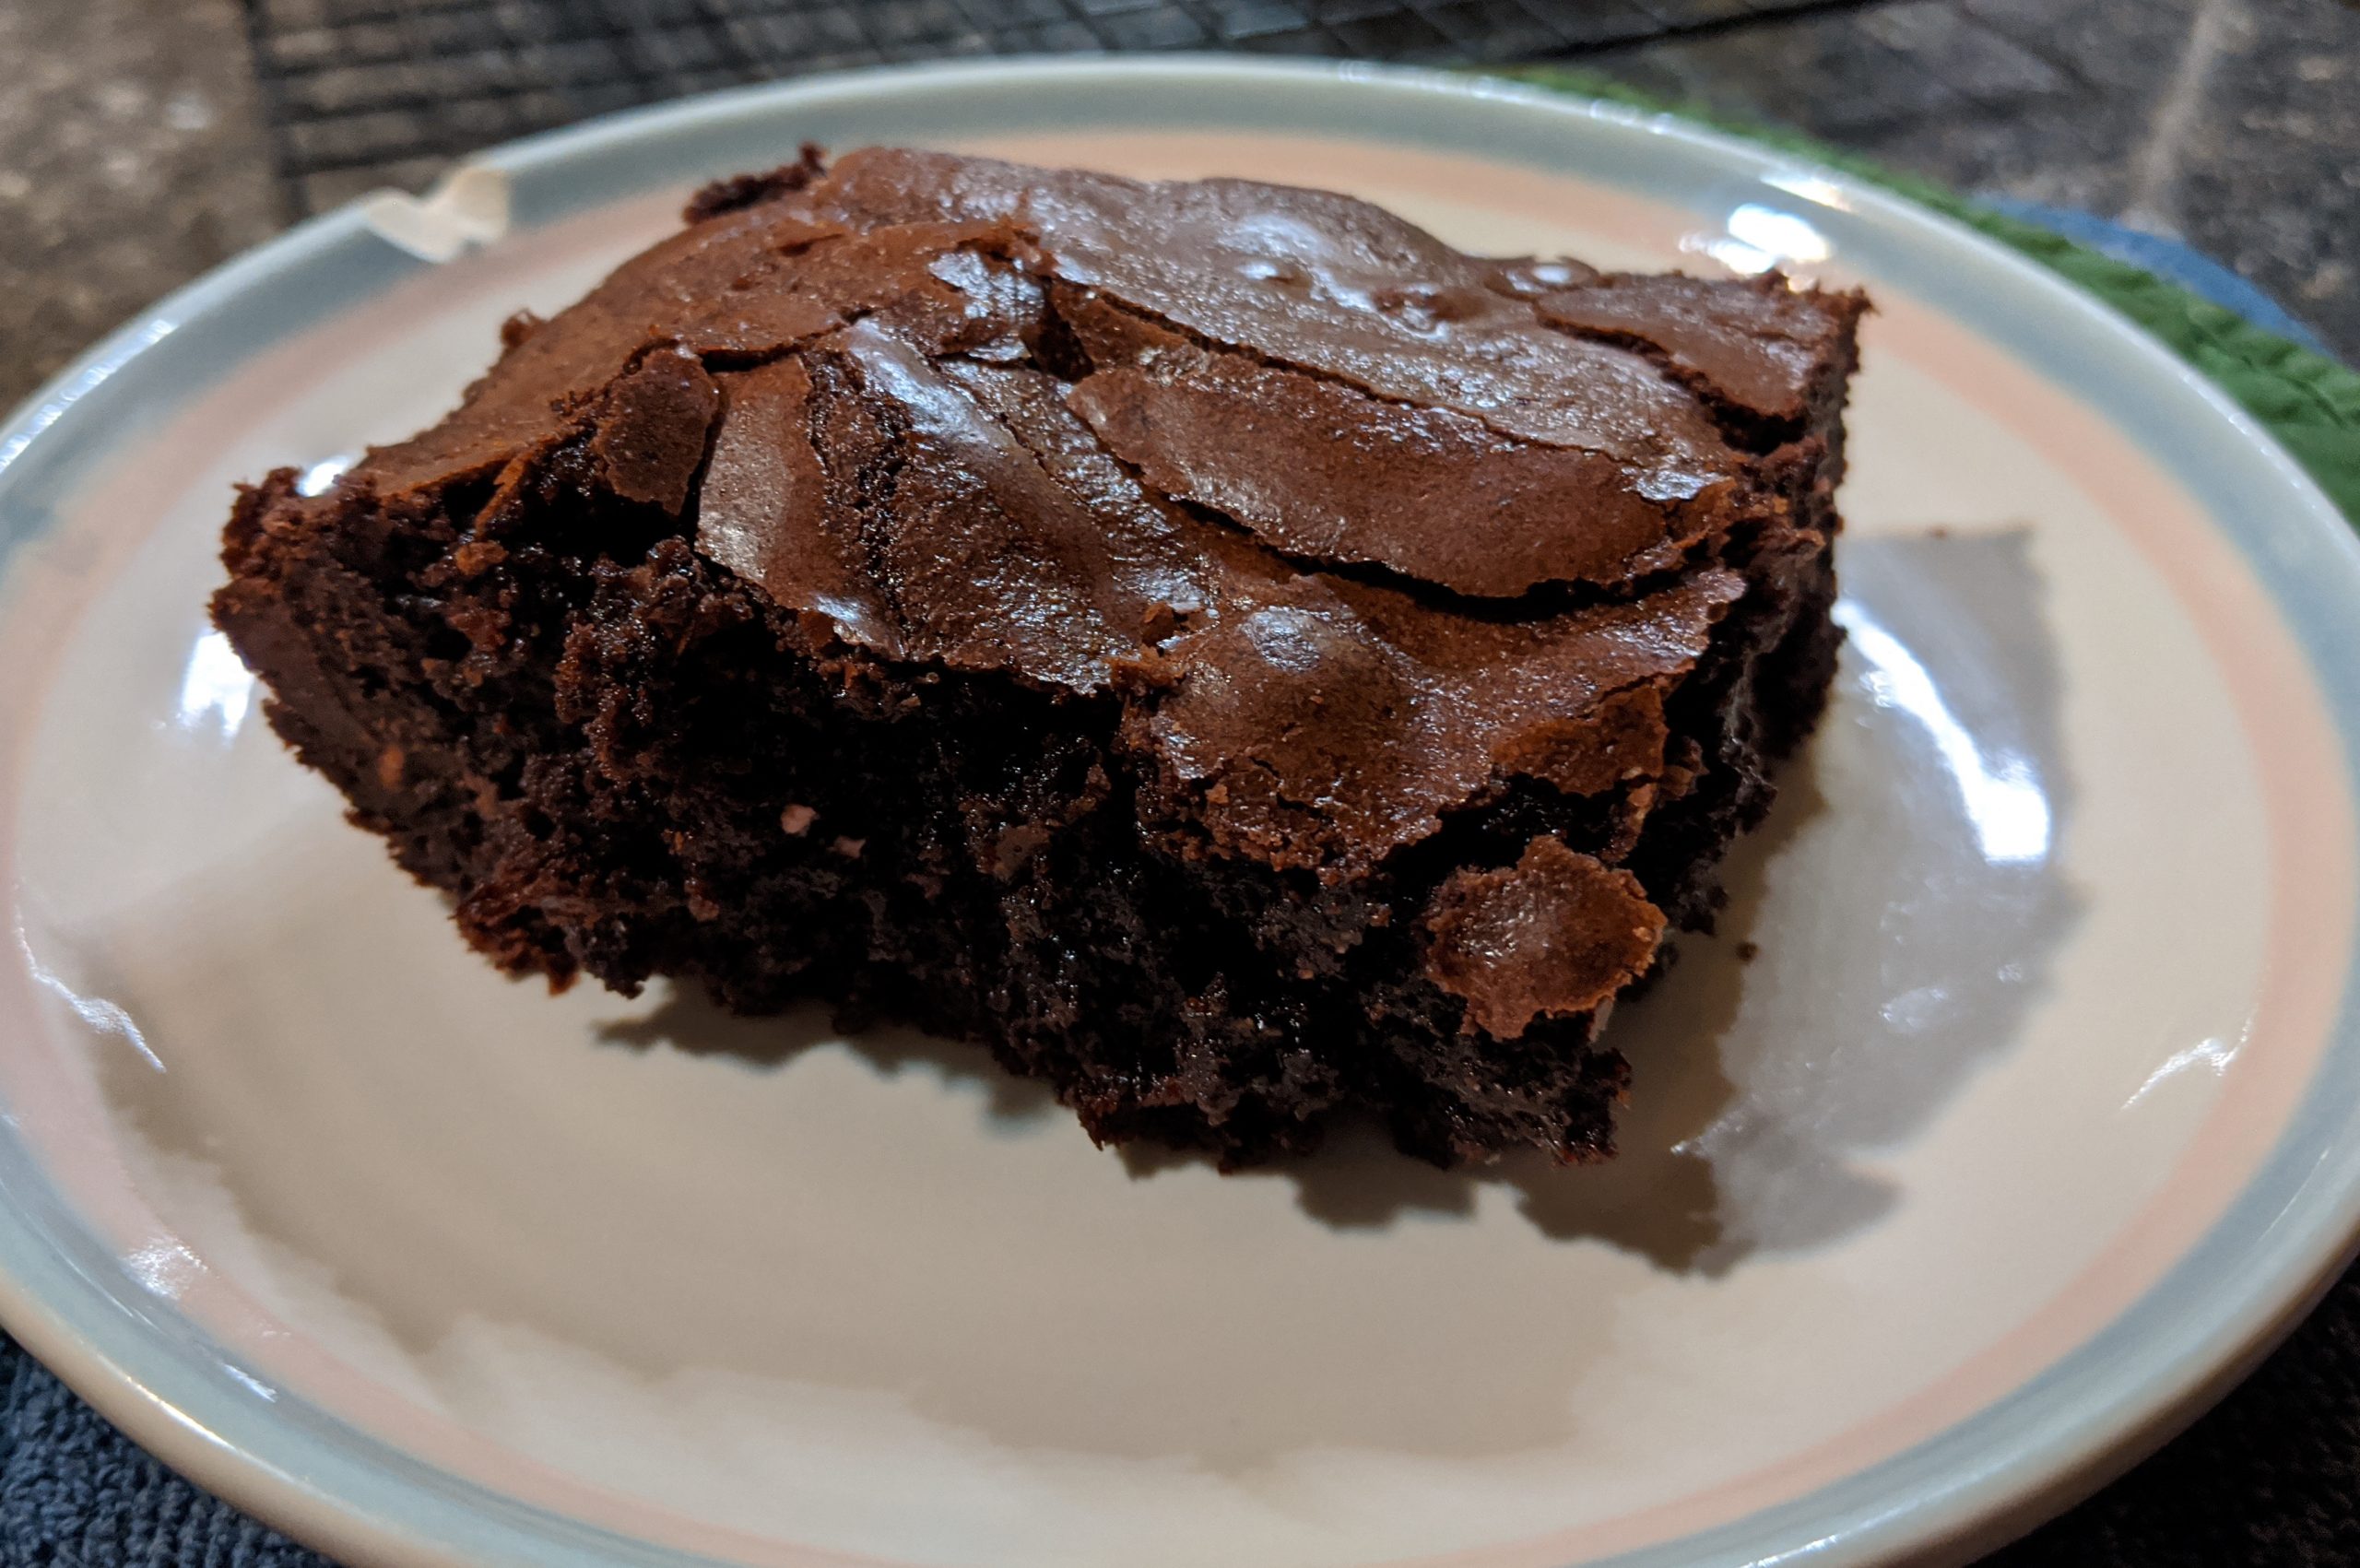
Using 100% brown sugar instead of granulated white sugar is a great move. It helps keep your brownies rich and fudgy, while maintaining moisture better than normal brownies so they stay softer longer. You know, if you manage to let any of them survive the night in the first place.
If I were making brownies just for eating, I could basically just end this here and give you the recipe. I was planning to decorate them, though, so I did a few extra things.
First up, I greased the pan, but I also lined it with parchment paper to make it easier to pull the brownies out of the pan.
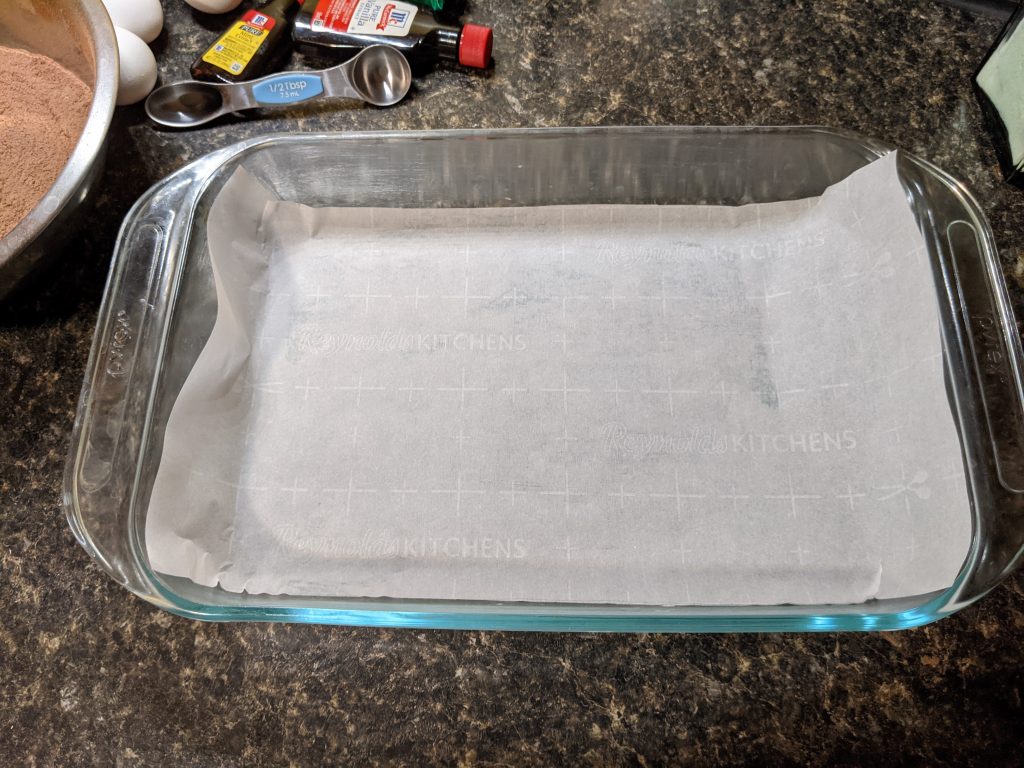
There’s just enough overlap on the parchment paper to keep the batter from getting under it. It worked perfectly! One edge was slightly stuck, but running a thin knife between the glass and the brownie freed it up. Everything lifted right up, once it was cool enough to do so.
At that point, I put the brownie in the fridge to cool. This lets it harden up some and makes it easier to cut without mushing the edges. You can see the results.
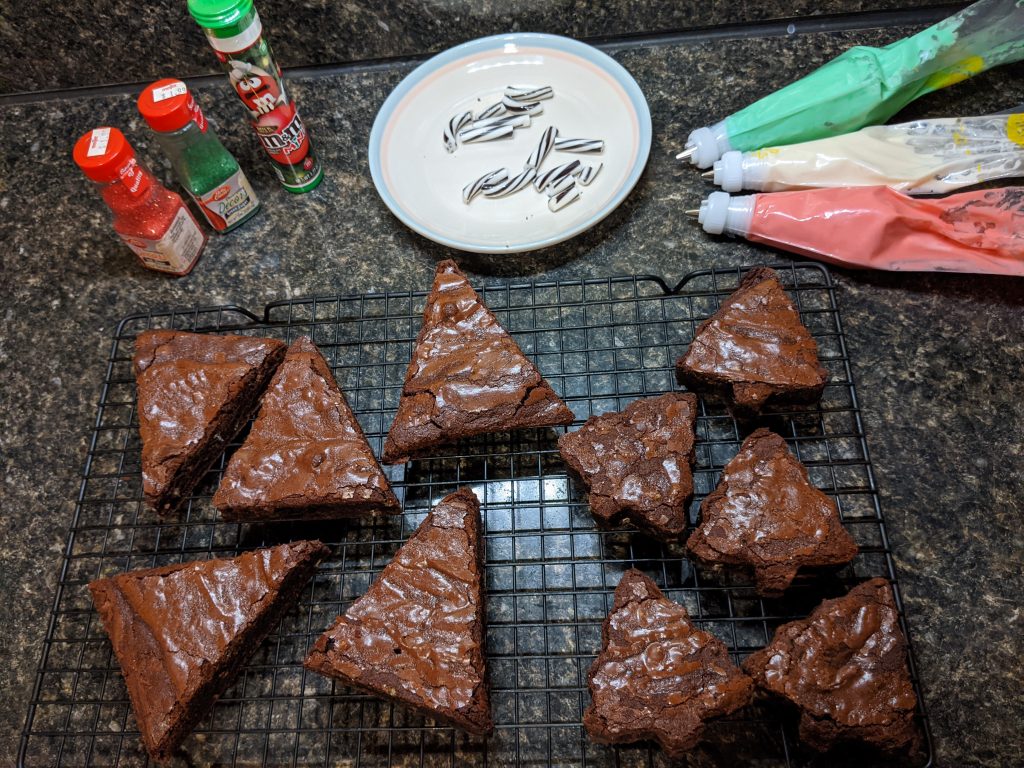
I used a Christmas tree cookie cutter I had for the smaller ones, and just cut triangles for the larger ones, so I had some variation. This left a lot of excess brownie in a bits tub, which we snacked on while decorating. You can also use those extra bits to make brownie pops, if you like! I just ate them.
The number of trees this recipe makes depends entirely on how large your pan is, how small your trees are, and how good you are at cutting them close to one another. To be honest, the triangles were easier, but I think the smaller ones look a little better.
For decoration, I just made a simple buttercream icing (I used this recipe from AllRecipes) and added a couple of drops of food coloring to color different parts of the batch. That recipe made about 8x more icing than I needed for these, so keep that in mind.
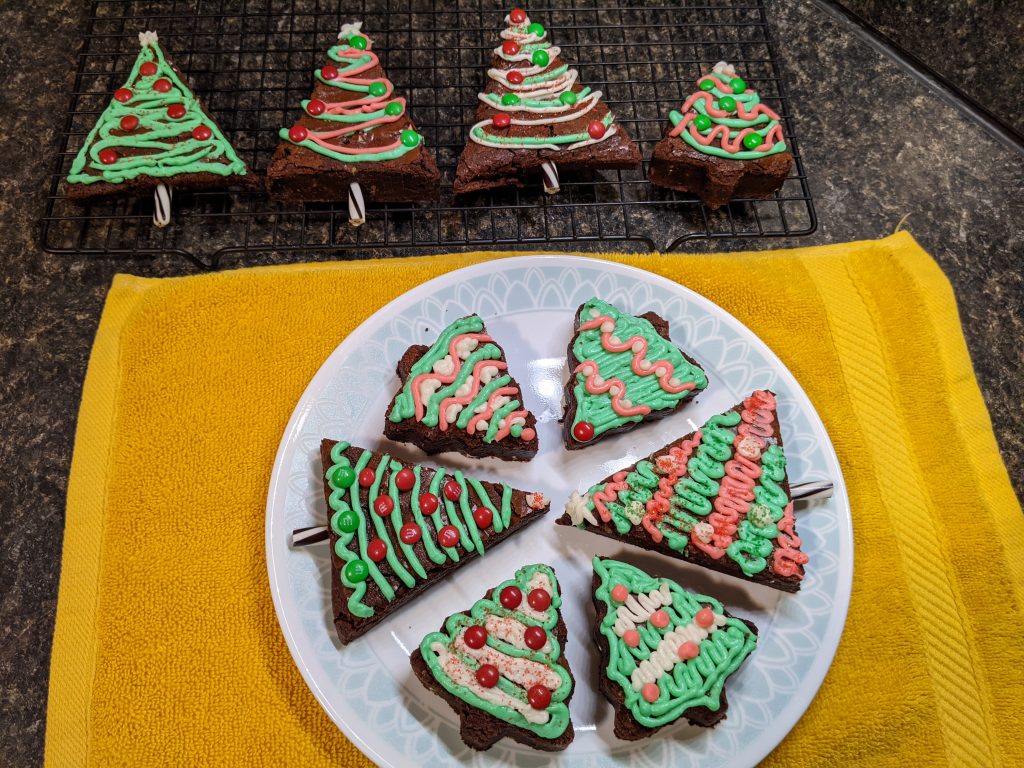
From there, of course, decorate as you see fit. I’m far from a professional decorator, so these don’t look as elegant as some of the ones you see online, but hey; they’re delicious, and that’s what counts.
Rich Fudgy Mint Brownies
Equipment
- Baking Dish
- Parchment Paper
- Mixing Bowl
- Sifter
- Rubber Spatula
Ingredients
- 1 Cup Butter Melted. Plus some extra to grease the pan.
- 2½ Cup Brown Sugar
- 1½ Tsp Vanilla Extract
- 1½ Tsp Mint Extract
- 4 Eggs
- 1½ Cup All-Purpose Flour
- ½ Cup Unsweetened Milk Chocolate Cocoa Powder
- ½ Cup Unsweetened Dark Chocolate Cocoa Powder
- 1 Tsp Salt
- 1 Cup Andes Baking Chips Any chocolate chip or mint chip works
Instructions
- Preheat your oven to 350 degrees F.
- Lightly grease a 13×9" baking dish with butter.
- Trim parchment paper to fit the bottom of the baking dish, with a little extra on two edges so the brownies can be removed later more easily.
- Mix the melted butter, brown sugar, vanilla, and mint in a mixing bowl.
- Mix in the eggs one at a time, blending thoroughly.
- Sift together the flour, cocoa powder, and salt.
- Gradually mix the flour mixture into the egg mixture, stirring until blended.
- Mix in your Andes candies or chocolate chips.
- Spread your batter evenly in the baking dish, on top of the parchment paper.
- Bake for 33+ minutes. After about 33 minutes, use a toothpick to check the brownies. Once it comes out clean, they're done.
- Let the brownies cool, then lift them gently with the parchment paper to remove them from the dish.
- Cut, decorate, serve, and enjoy!
Have you tried these brownies? Let me know! Show off your holiday decorations below. If you want something creamy and light to go with it, why not try some Strawberry Milk?