Please note that this post contains affiliate links. If you click through and make a purchase, I earn a few cents.
Cakes intimidate me. They’re so precise, and if you get them wrong, a lot can go wrong. They can taste dry or flour-y. They can end up too crumbly, or too dense. They can end up bitter or too sweet. Before this, I very rarely made cake of any kind other than a boxed mix, and when I did, it was usually cupcakes.
That said, I’ve been meaning to get into cakes more, so I started doing some experiments. Today’s recipe comes from those experiments.
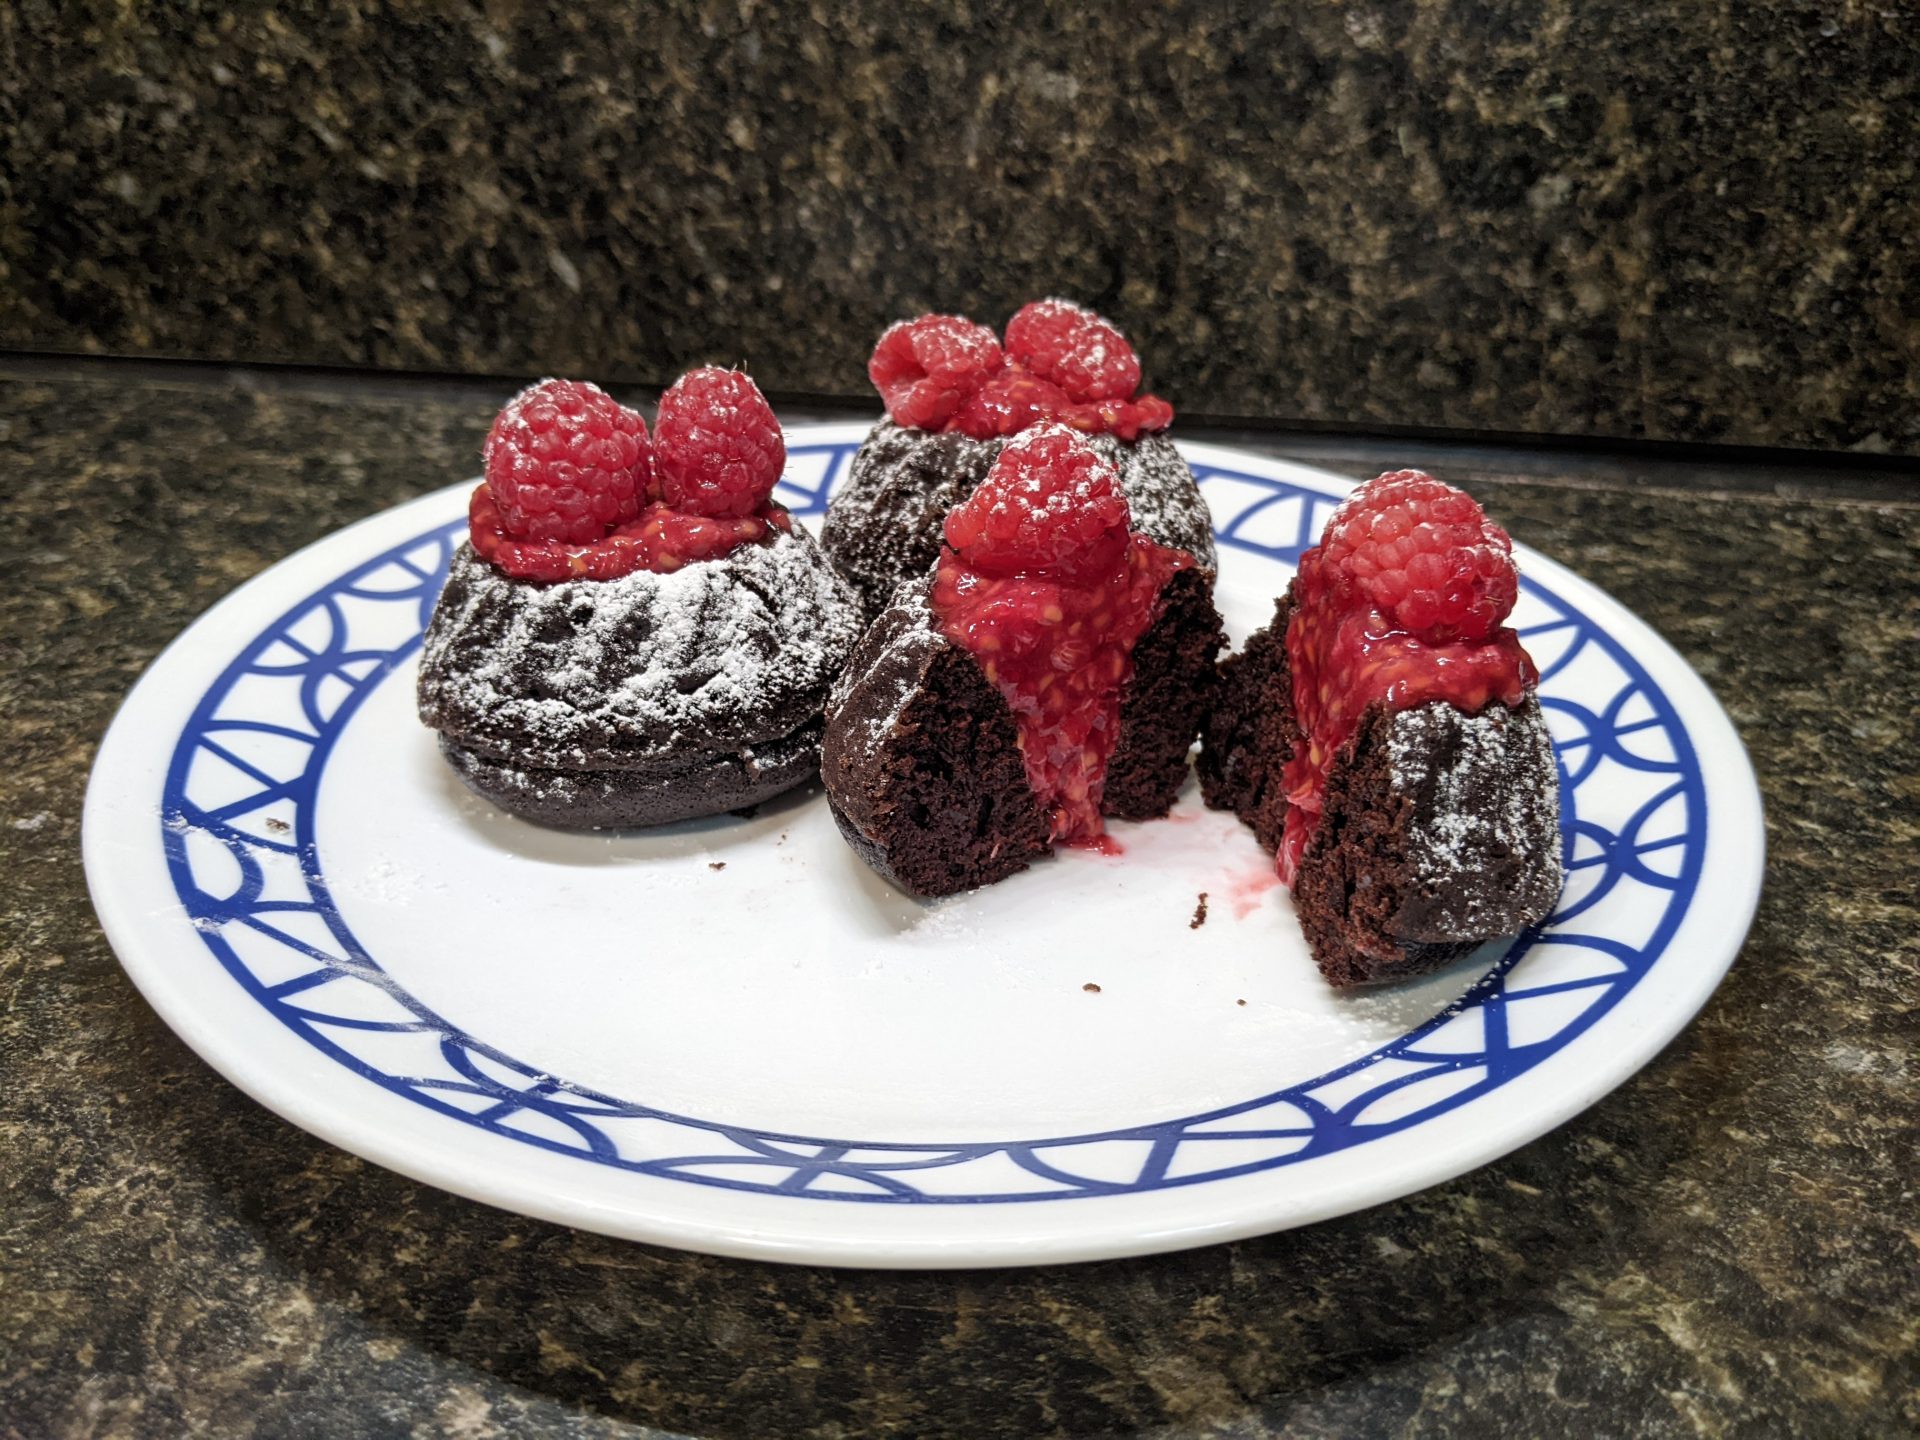
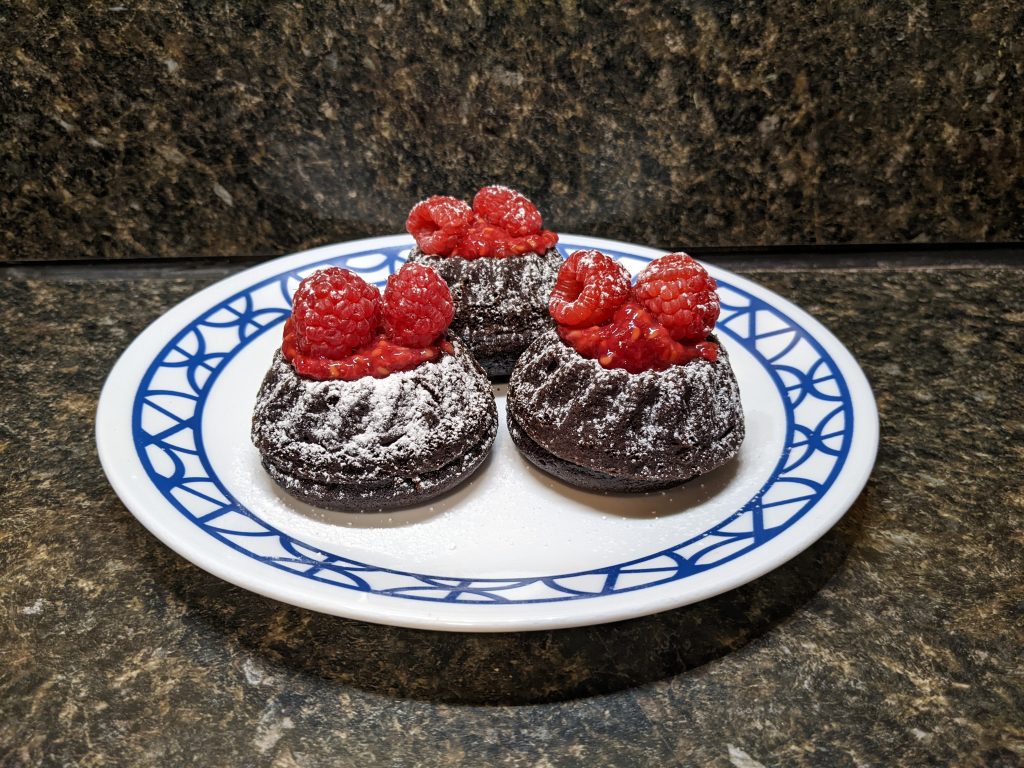
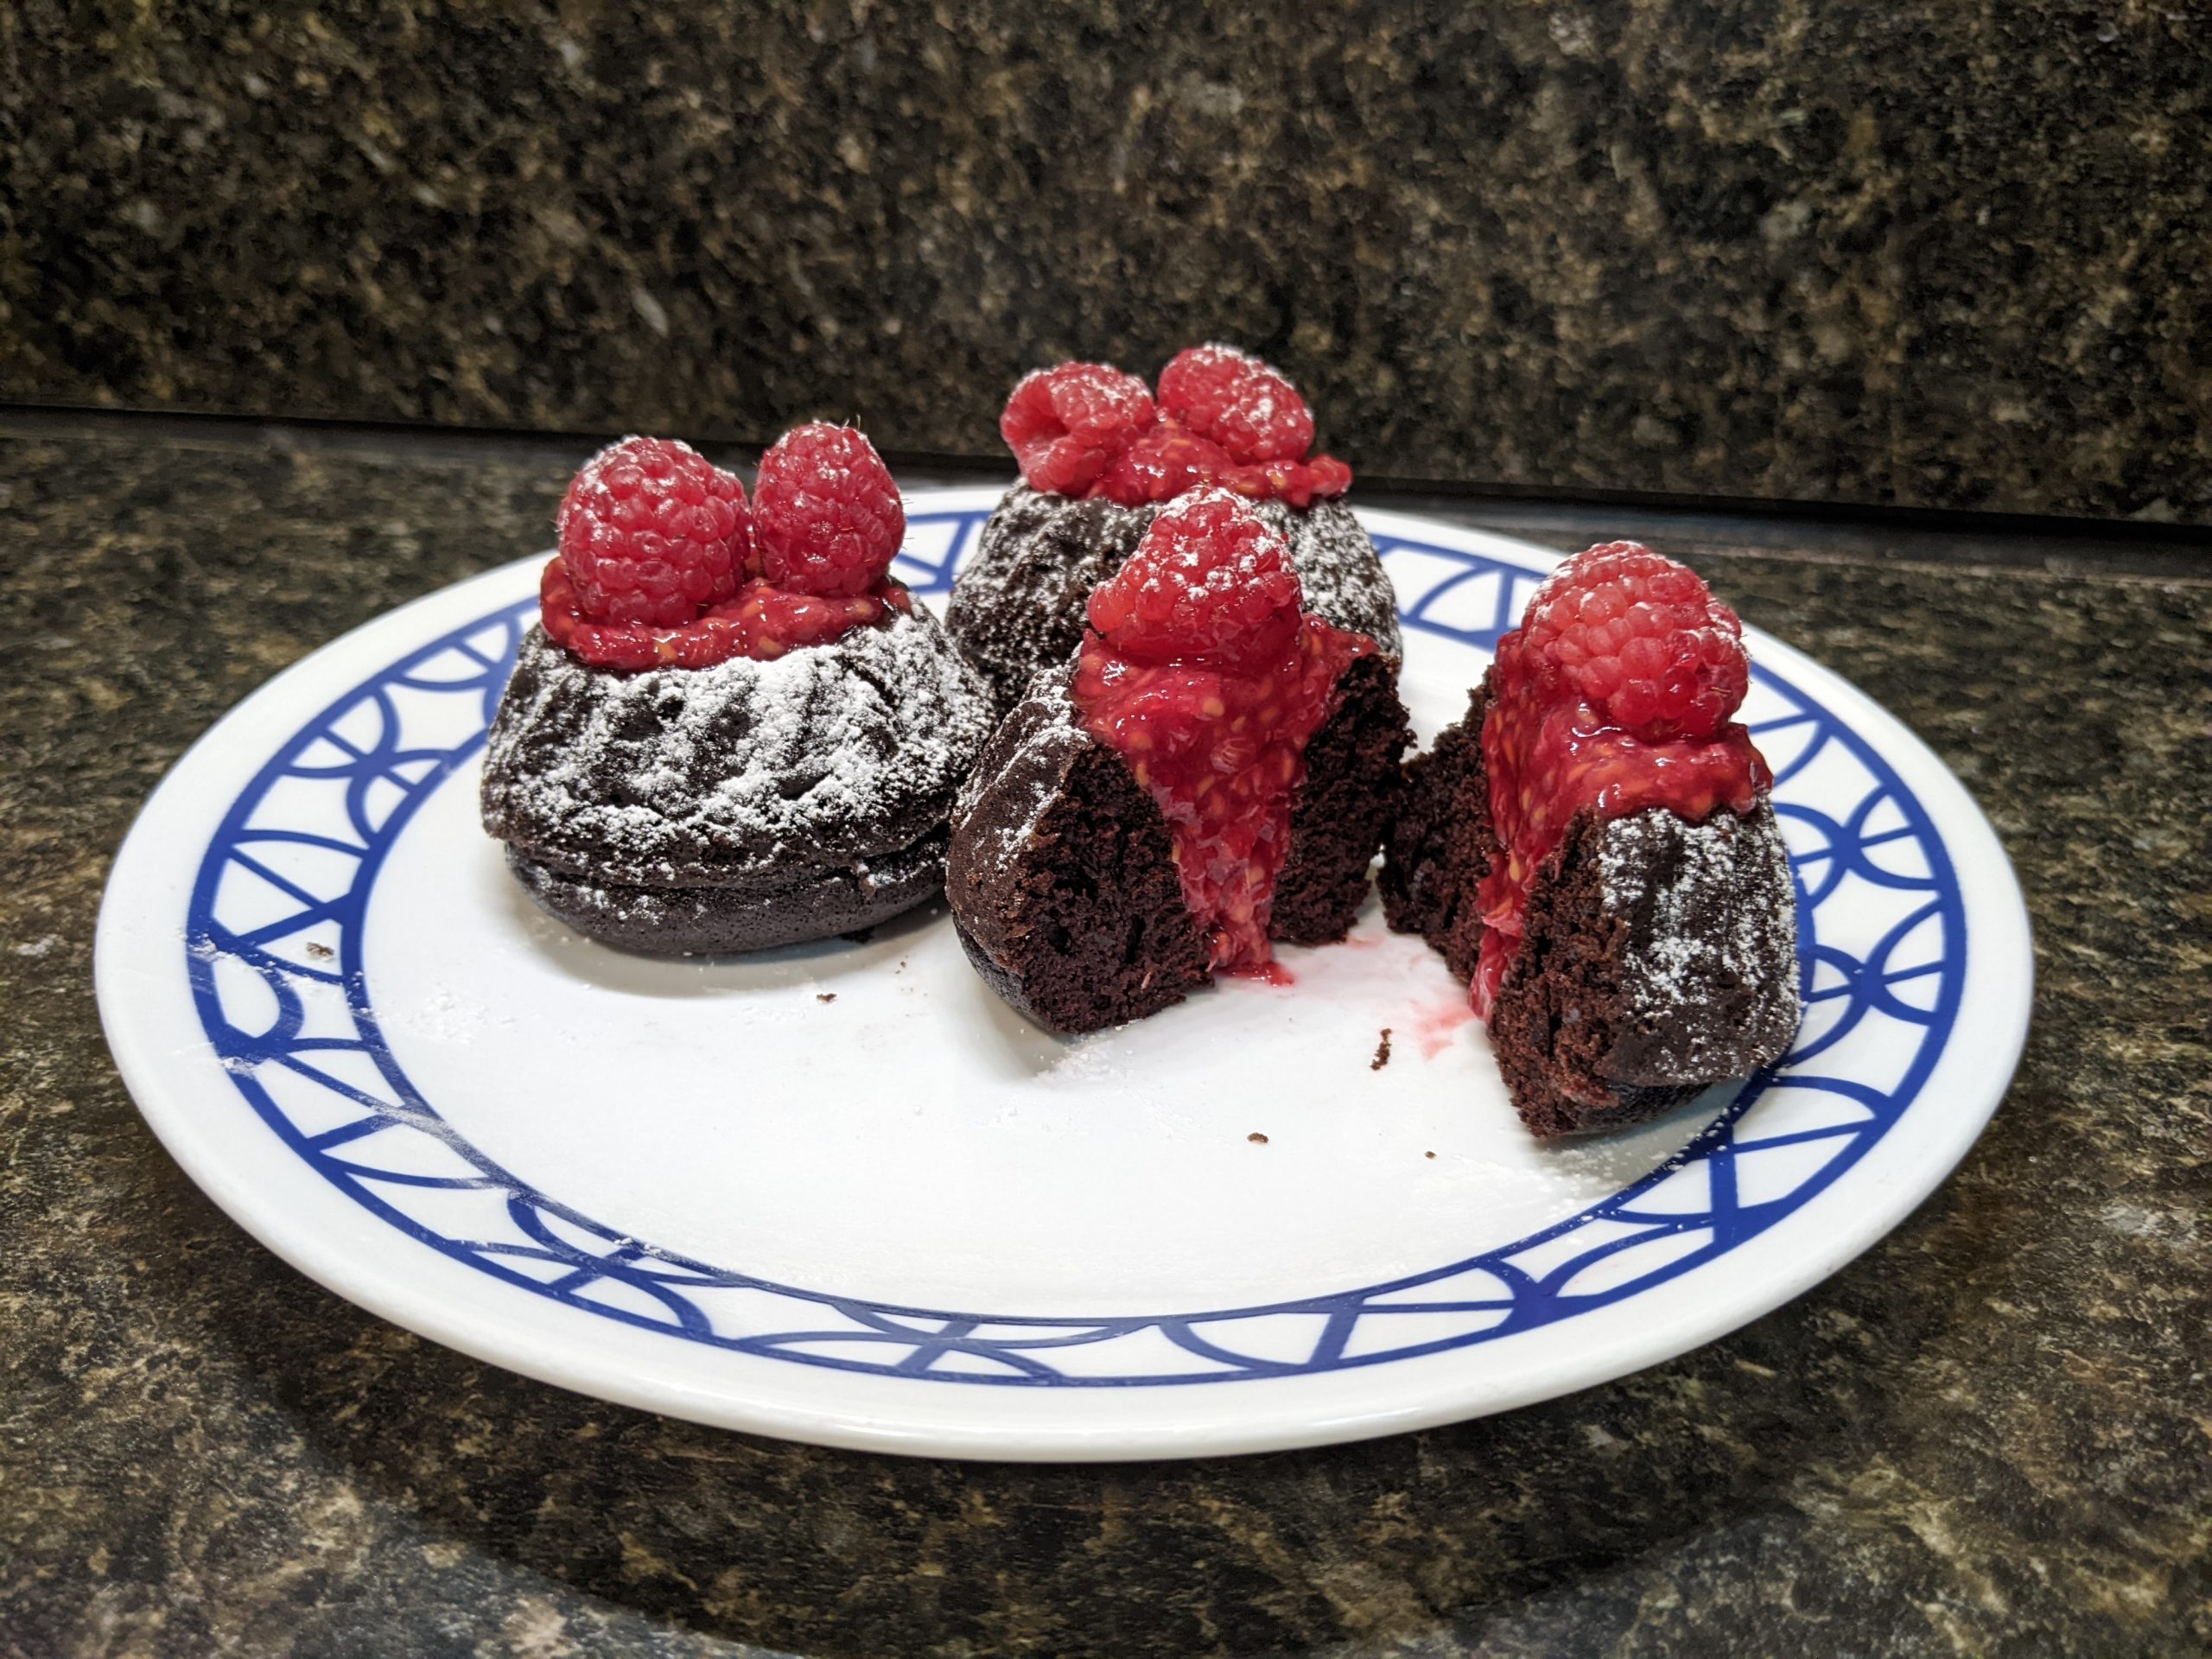
About a year before I launched the blog, one of the desserts I made was a chocolate cupcake, of a sort. I used my sweetroll/mini bundt cake pan to make them (so they’re a little smaller than cupcakes) and I filled the hole with a raspberry sauce I made. It was delicious, so I decided to try it again, using a new cake recipe.
About the Pan
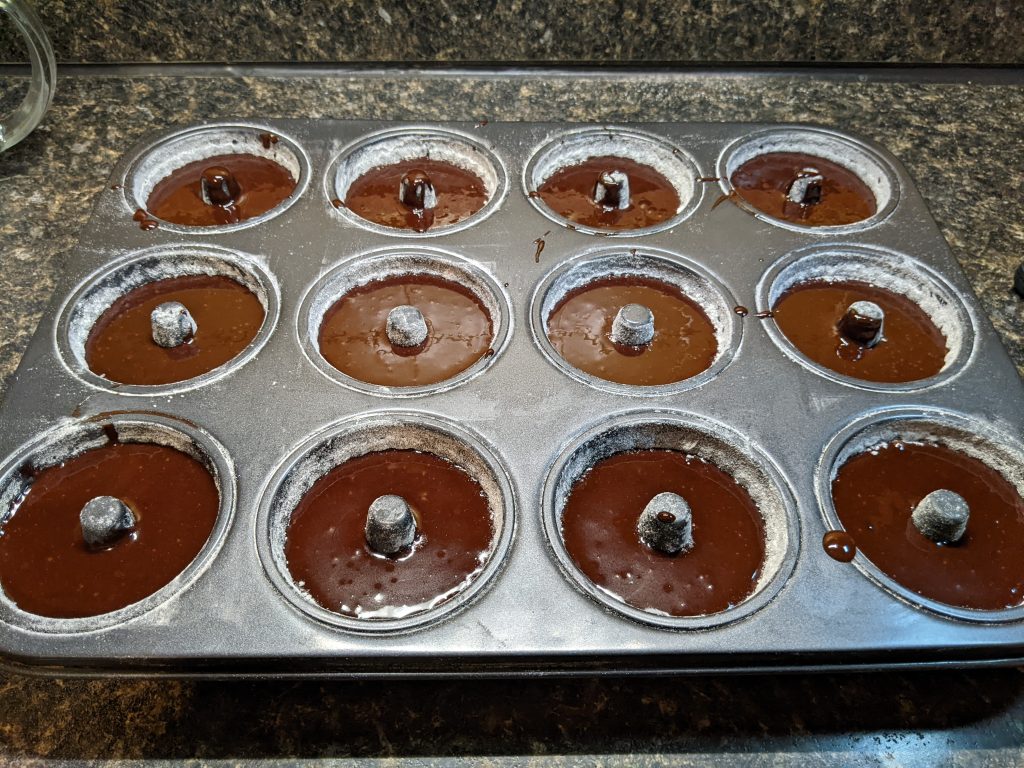
My recipe below uses my mini bundt cake pan. My partner got it for me a few years ago as a gift, mostly because it makes perfect miniature sweetrolls. Since I’m a big fan of the Elder Scrolls (and sweetrolls are a bit of a meme from Skyrim and ESO), he thought it would be funny to get me both the Elder Scrolls Cookbook and the pan to make them.
I love the pan, but you can fairly easily just make cupcakes out of this recipe instead. You’ll make fewer cupcakes, because it takes a little more batter for each cake than it does for my pan, but it’ll work just fine. You can then top them with raspberry or icing, or fill them, or do whatever you want with them.
I actually used my springform pan for half the batter to make a small cake, as well. Really, the recipe makes cake; it’s up to you to decide what form it takes.
About the Cake
The cake recipe I’m using is pretty dang good. It’s not cloyingly sweet like a lot of cakes I’ve found, and it’s still pretty moist. It has a hint of dark chocolate bitterness, which is perfectly balanced out by the tang of raspberries and the sweetness of whipped cream.
If you’re not a fan of darker chocolate or less sweet desserts, this might not be the best recipe for you. I find it’s a perfect balance. It’s not too heavy for a dessert, but not too light that I end up wanting to eat half a cake.
The secret to the rich, slightly bitter flavor, by the way? Coffee. And no, before you ask, it doesn’t taste like coffee at all. My partner doesn’t like coffee, and he usually can taste it even when there’s barely any in something, and he didn’t know it was in this cake at all. It adds richness and bitterness, and accents the chocolate flavor, but that’s it.
Well, that, and it has caffeine in it. Probably around 50 mg. of caffeine throughout the whole recipe, though, so each individual cake will have barely anything in it.
About the Toppings
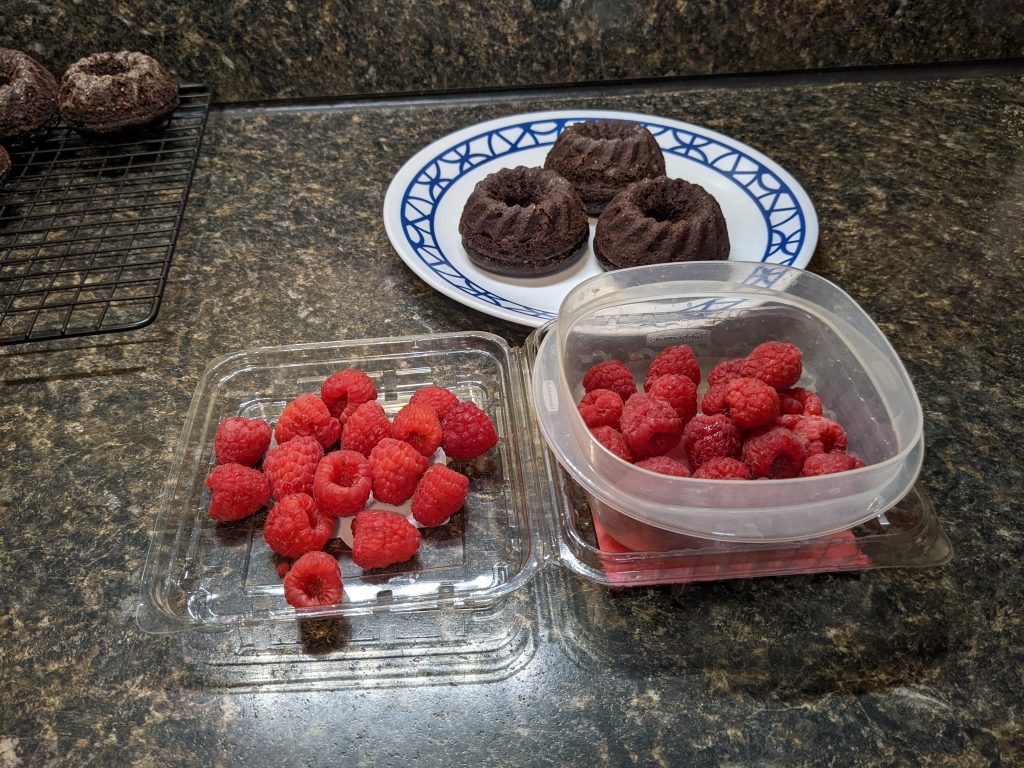
I find that this cake is good, but not great, on its own. It is, however, perfect for a base with other ingredients. I did three things for mine.
- Raspberries. I take a small package of raspberries, mash up half of them with a fork, and use that as a simple fruit topping. The whole raspberries go on top. For something a little more advanced, you can try out a berry compote instead.
- Powdered Sugar. A small strainer (like the mesh strainers from my Gear page) works perfectly to distribute this without clumps. Just add a teaspoon or so to the strainer, then tap it above the cake for a snowfall effect.
- Whipped Cream. I’ve taken to making my own whipped cream. All you need is a mixer with a whisk attachment, some heavy cream, some powdered sugar, and a dash of vanilla extract. Easy to make, and it goes on anything.
If you choose to do a whole cake, you can make two cakes and use whipped cream to separate the layers. You can also just decorate the top with whipped cream and raspberries. Cupcakes you can fill with raspberry and top with whipped cream, or make up an icing instead. Really, it’s all up to you. I find the balance of these three toppings works perfectly, but you can make whatever makes you happy.
Now, on to the recipe!
Chocolate Raspberry Mini Cakes
Equipment
- Stand Mixer with Whisk Attachment
- Mini Bundt Cake Pan
- Mesh Strainer
- Piping Bag
- Mixing Bowls
Ingredients
For the Cake
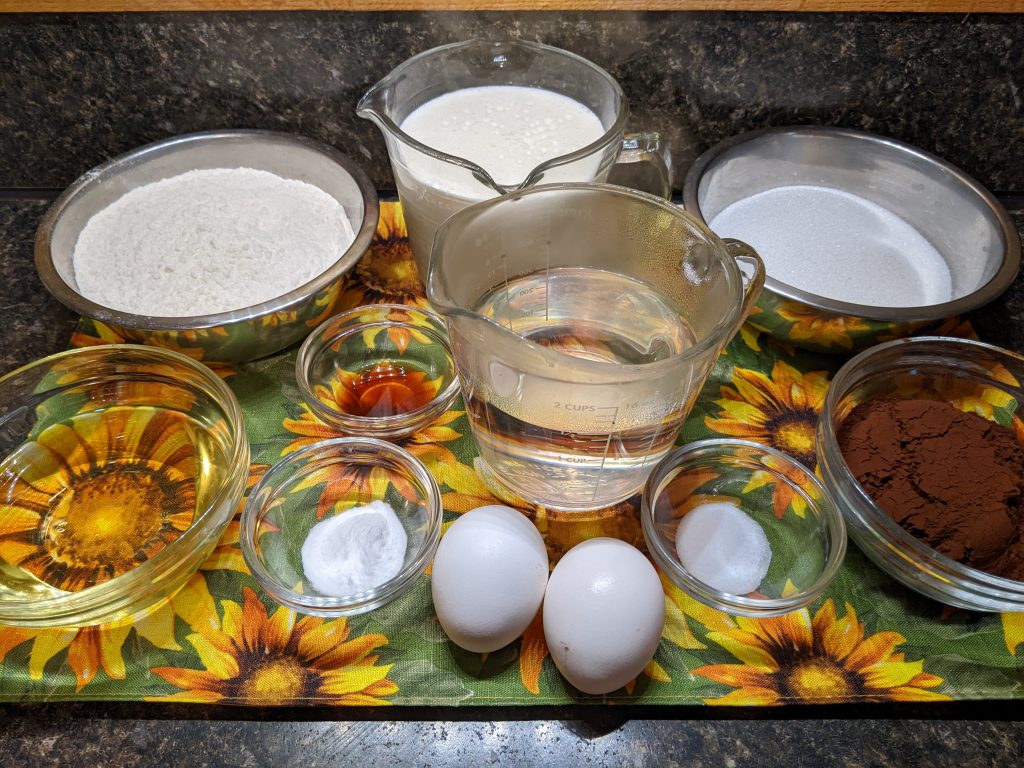
- ½ Cup Dutch Process Cocoa Powder
- 1½ Cups Sugar
- 1 Tsp Salt
- 1¾ Cups Flour Plus extra for coating the pan.
- 1 Tsp Baking Soda
- 2 Tsp Vanilla Extract
- ½ Cup Vegetable Oil
- 1½ Cups Boiling Water For brewing coffee.
- 1 Tsp Instant Espresso Optional; strong coffee works instead of water and espresso.
- 2 Eggs Warmed to room temp and whisked lightly.
For the Toppings
- 1 Pint Fresh Raspberries
- 1 Tsp Powdered Sugar For dusting
- 2 Cups Heavy Cream
- 1 Tbsp Powdered Sugar
- 1 Tsp Vanilla Extract
Instructions
Make the Cake Batter
- Preheat oven to 350°F.
- Grease your cake pan lightly with butter, then sprinkle with flour to coat. Flip over to knock out loose excess (preferably over the sink or trash.)
- In a mixing bowl, sift together the cocoa powder, sugar, salt, flour, and baking soda.
- In a separate bowl, mix the vanilla and oil.
- Mix the espresso powder into the boiling water until brewed as coffee. Then, add the coffee to the oil bowl.
- Gradually add the coffee/oil to the dry ingredients, mixing until well combined.
- Lightly whisk the eggs to mix them up, then stir them into the cake batter. The batter will be very thin, that's fine.
- Divide your batter into your cake molds. I found using a makeshift piping bag to be easiest, but you can also just use a spoon.
- Bake for 12-13 minutes, or until a toothpick or tester comes out clean. Remove from oven and let cool completely.
Make the Toppings
- For the raspberry topping, mash half of the raspberries up with a fork, then mix with the remaining whole raspberries.
- For the whipped cream, add the heavy cream, sugar, and vanilla to your mixer's bowl. Whisk on med-high until fluffed and forming peaks.
Assemble
- Once the cakes are cool, remove them from the cake pans carefully.
- Using a strainer, sift powdered sugar to coat the top of the cakes.
- Spoon raspberry into the center of each cake, top with fresh berries, and spoon or pipe on whipped cream.
- Enjoy!

