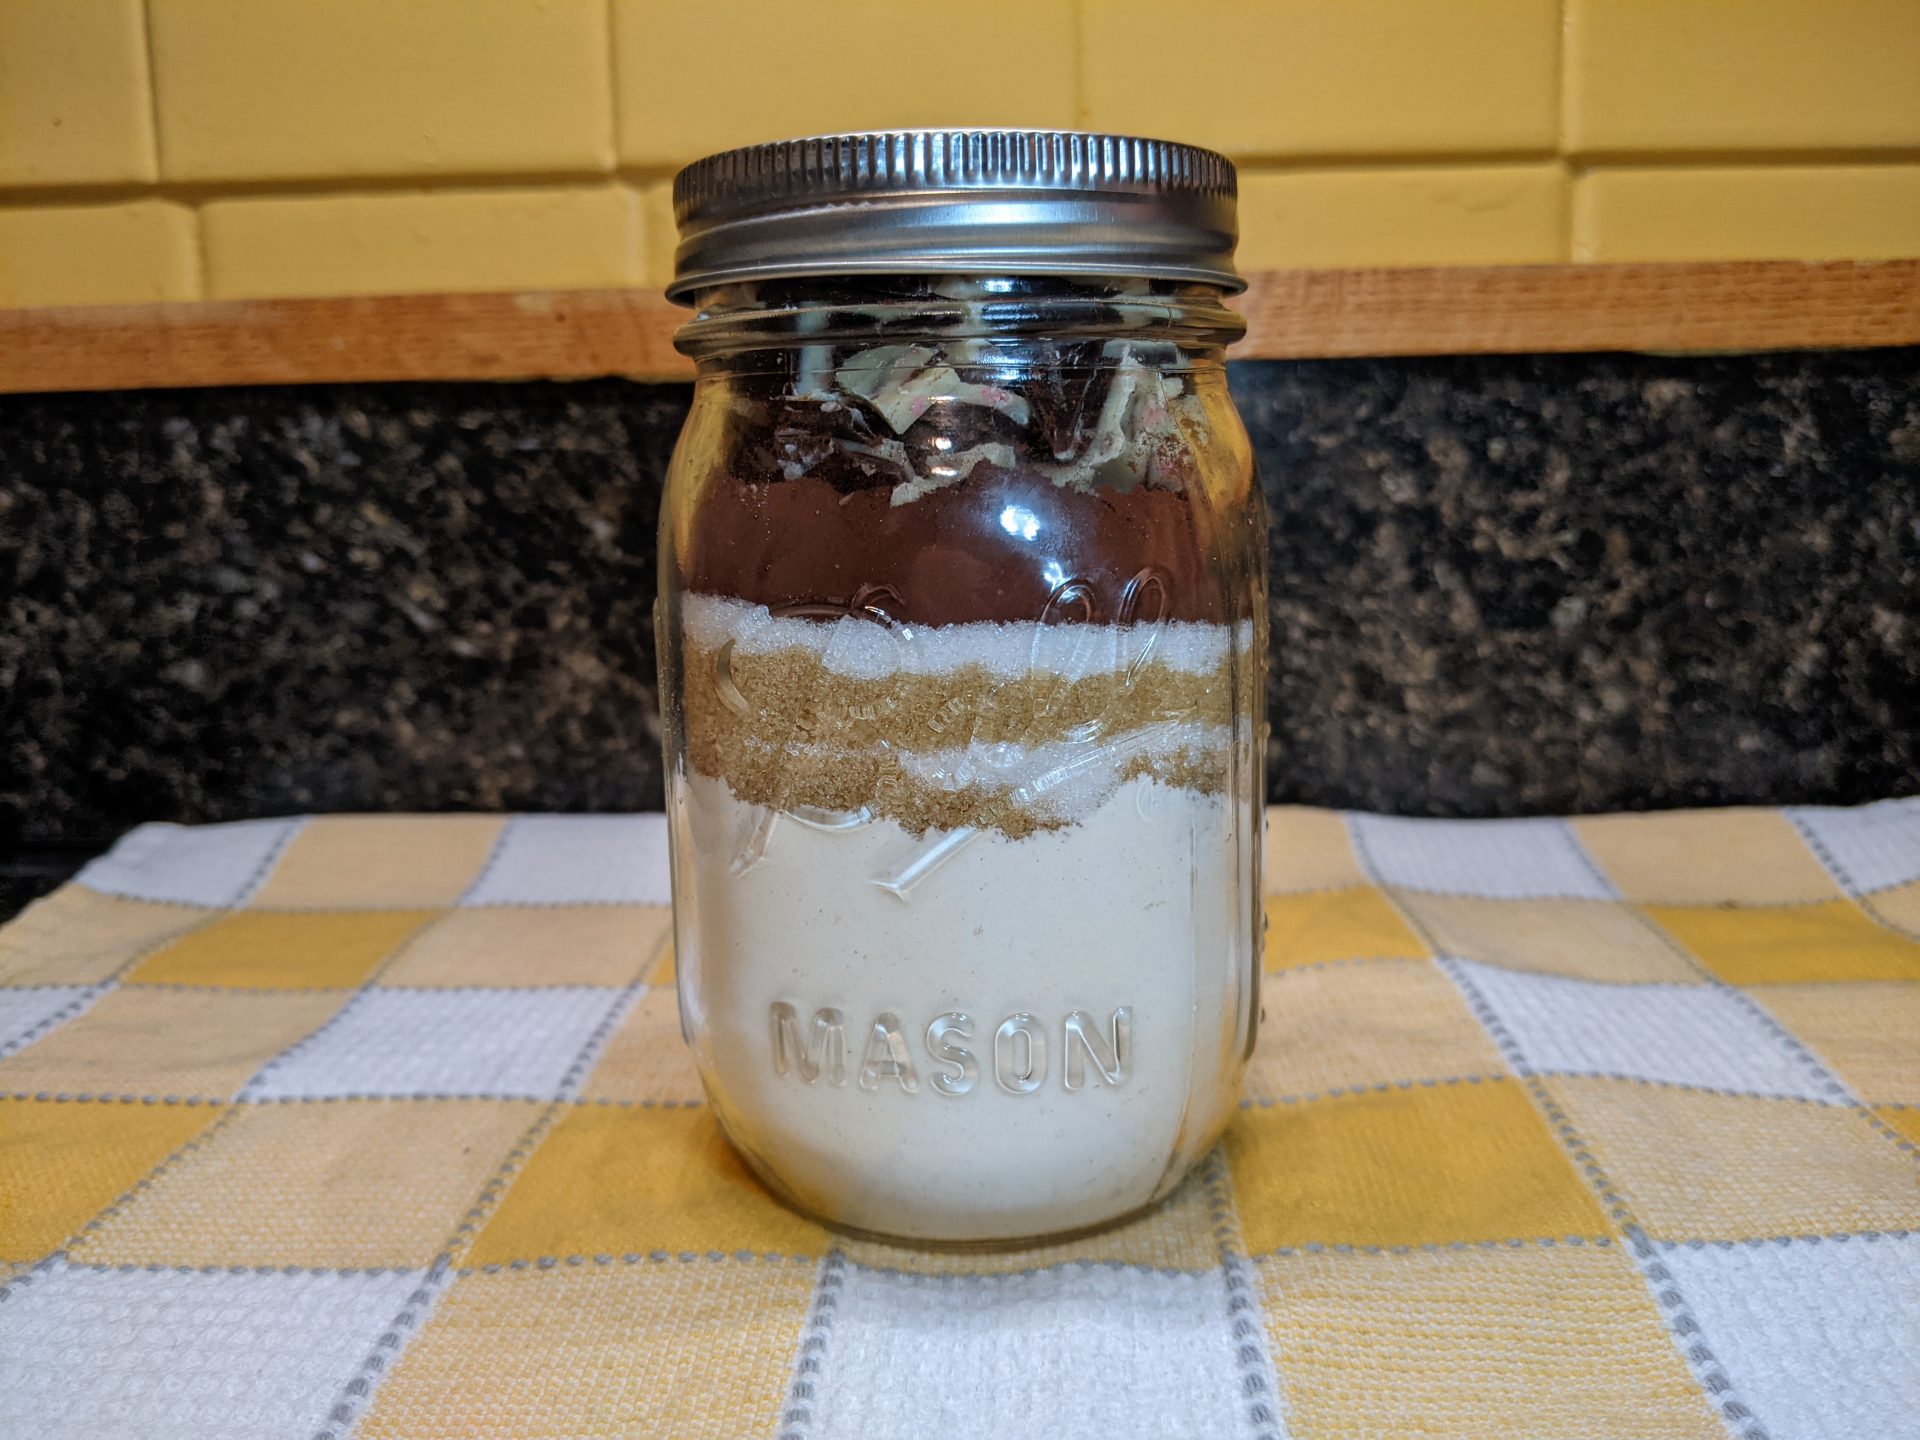
The curse of the baker is that once your friends and family find out, they will never stop asking for a piece of the pie (or a plate of cookies, or a cake, or…) and it’s up to you to figure out if, and how, to give them some of your treats.
For me, I’ve been trying to angle healthier with my own diet, while still building up this blog full of treats and goodies for you all to enjoy. That means when I bake a batch of something, as often as not, at least half of it will make its way out to a neighbor or friend.
Unfortunately, things like shipping through the mail don’t treat cookies all that well. So my more distant friends and family don’t get to take advantage of my baking all that often. This is always a little annoying, especially around the holidays, when I’d love to give out some goodies.
The last couple of years, I’ve joined a Secret Santa group through one of my online communities. This is also one of the communities that supports my blog (and gets a lot of behind-the-scenes photos of food I make that doesn’t make the blog), which is basically teasing at this point. So, this year, I decided that my Secret Santa recipient gets to be an experimental guinea pig for my solution to the problem.
So, how do I send out cookies without risking the recipients getting a box of stale crumbs? Solution: a cookie jar!
Sending Jarred Cookie Mix
It’s difficult to mail a finished product, so the next best thing is to mix up the ingredients (or most of them, anyway) and send those. There are still a few challenges, though.
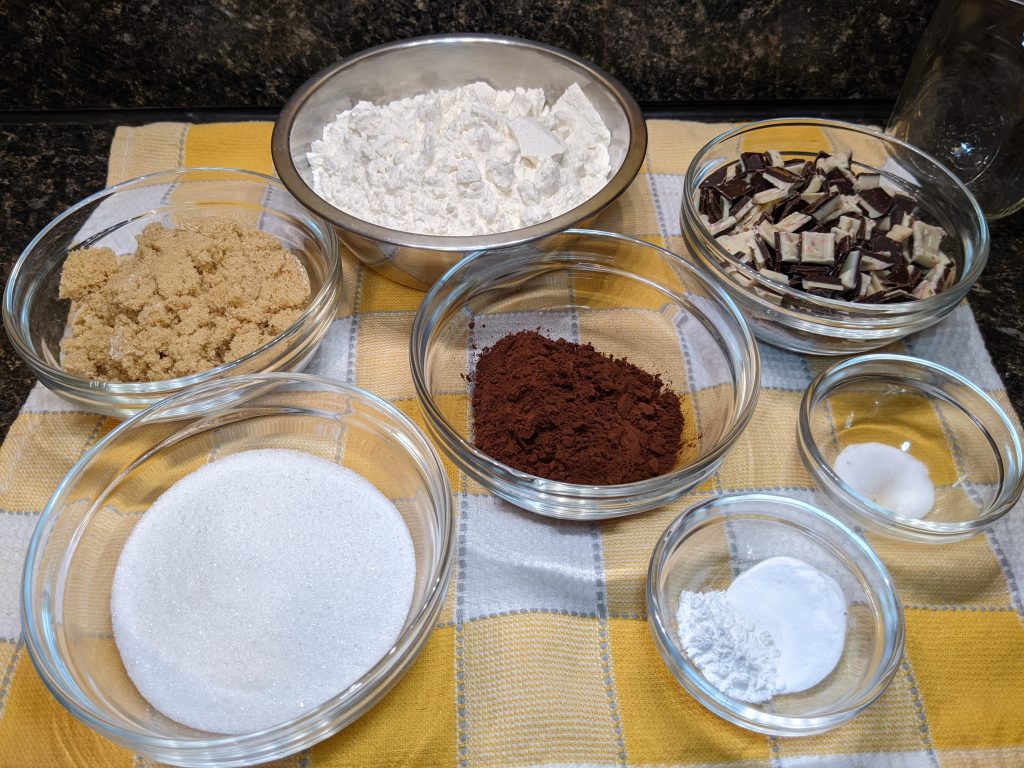
For one thing, you can’t just mix up cookie dough and mail that. You risk butter going rancid or eggs fostering salmonella, and it just won’t do well going through the postal service unless it’s kept cold. Cold priority shipping is expensive, so that idea is out. The solution is to leave out those ingredients, and just include them on the instructions. So, for my recipe, the jar includes everything except butter and eggs. Which, thankfully, pretty much anyone I would send these to will have on hand.
The second challenge is the space. You need enough room in the jar to fit all the ingredients, without leaving so much space it gets battered and shakes around. I chose one pint jars (mostly because they’re what I have on hand) but this recipe can easily be doubled to fill a quart jar just as well.
So, what cookies did I pick? Well, I went back through the chats I had with my Santee and narrowed down the flavor profile they like. I ended up going with a cookie that is chocolatey, chewy, and with a bit of peppermint. So, this recipe calls for cocoa powder and some chopped up peppermint bark, perfect for the holiday season.
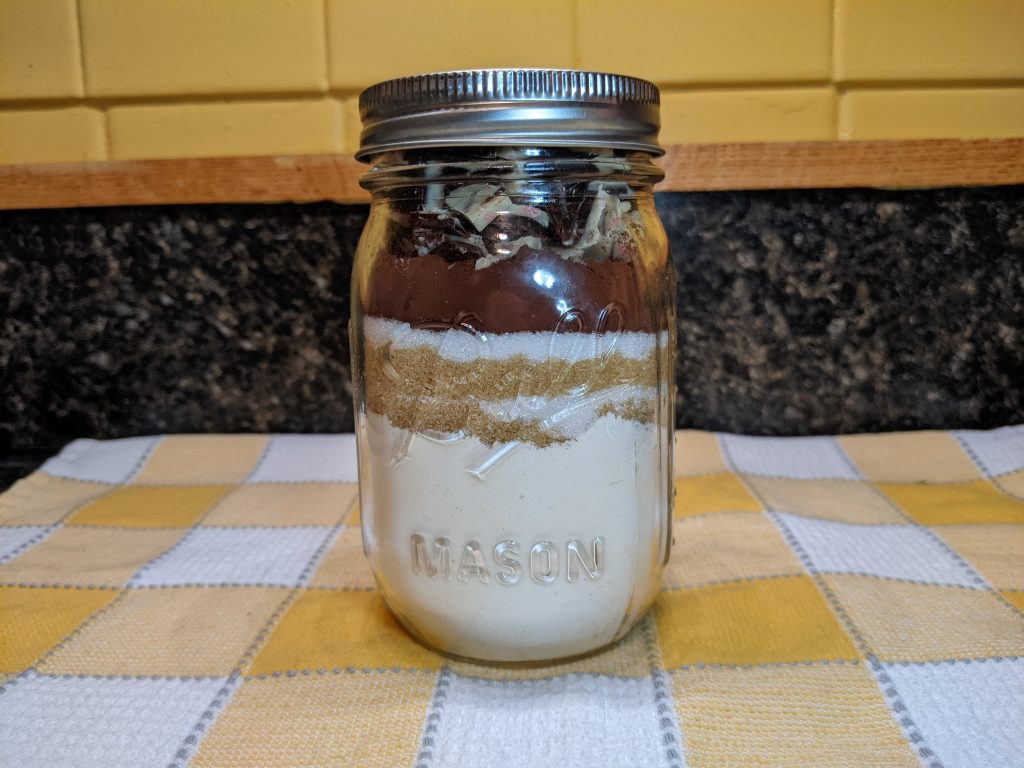
What does the finished product look like? Well, let me tell you, it’s pretty good.
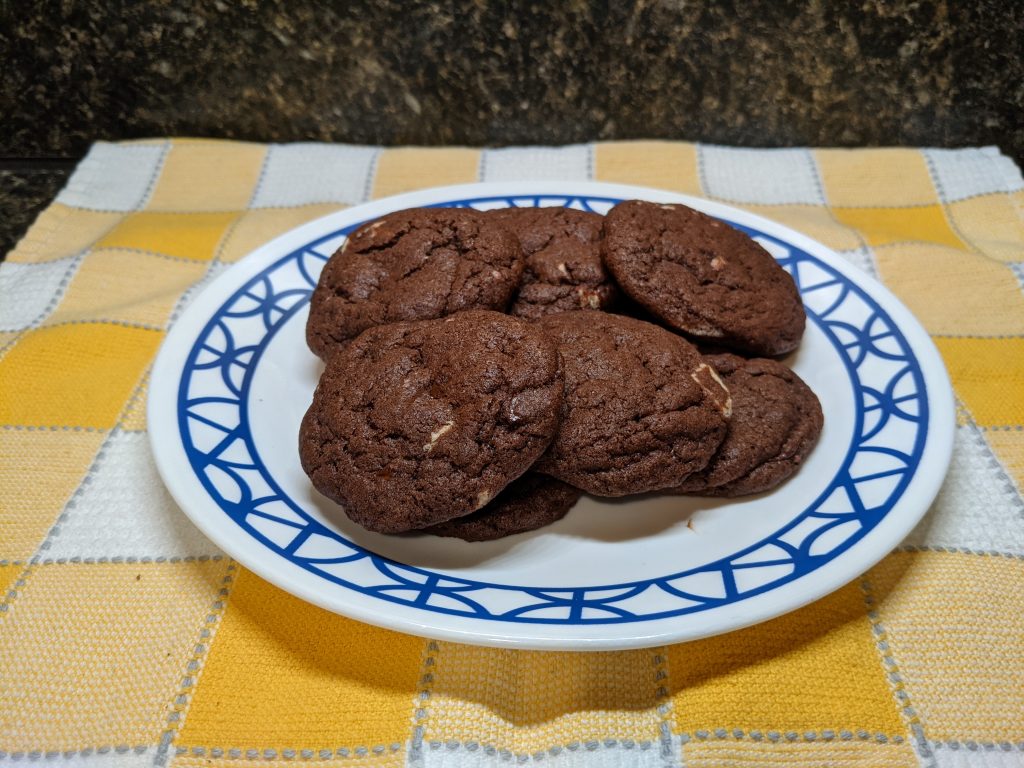
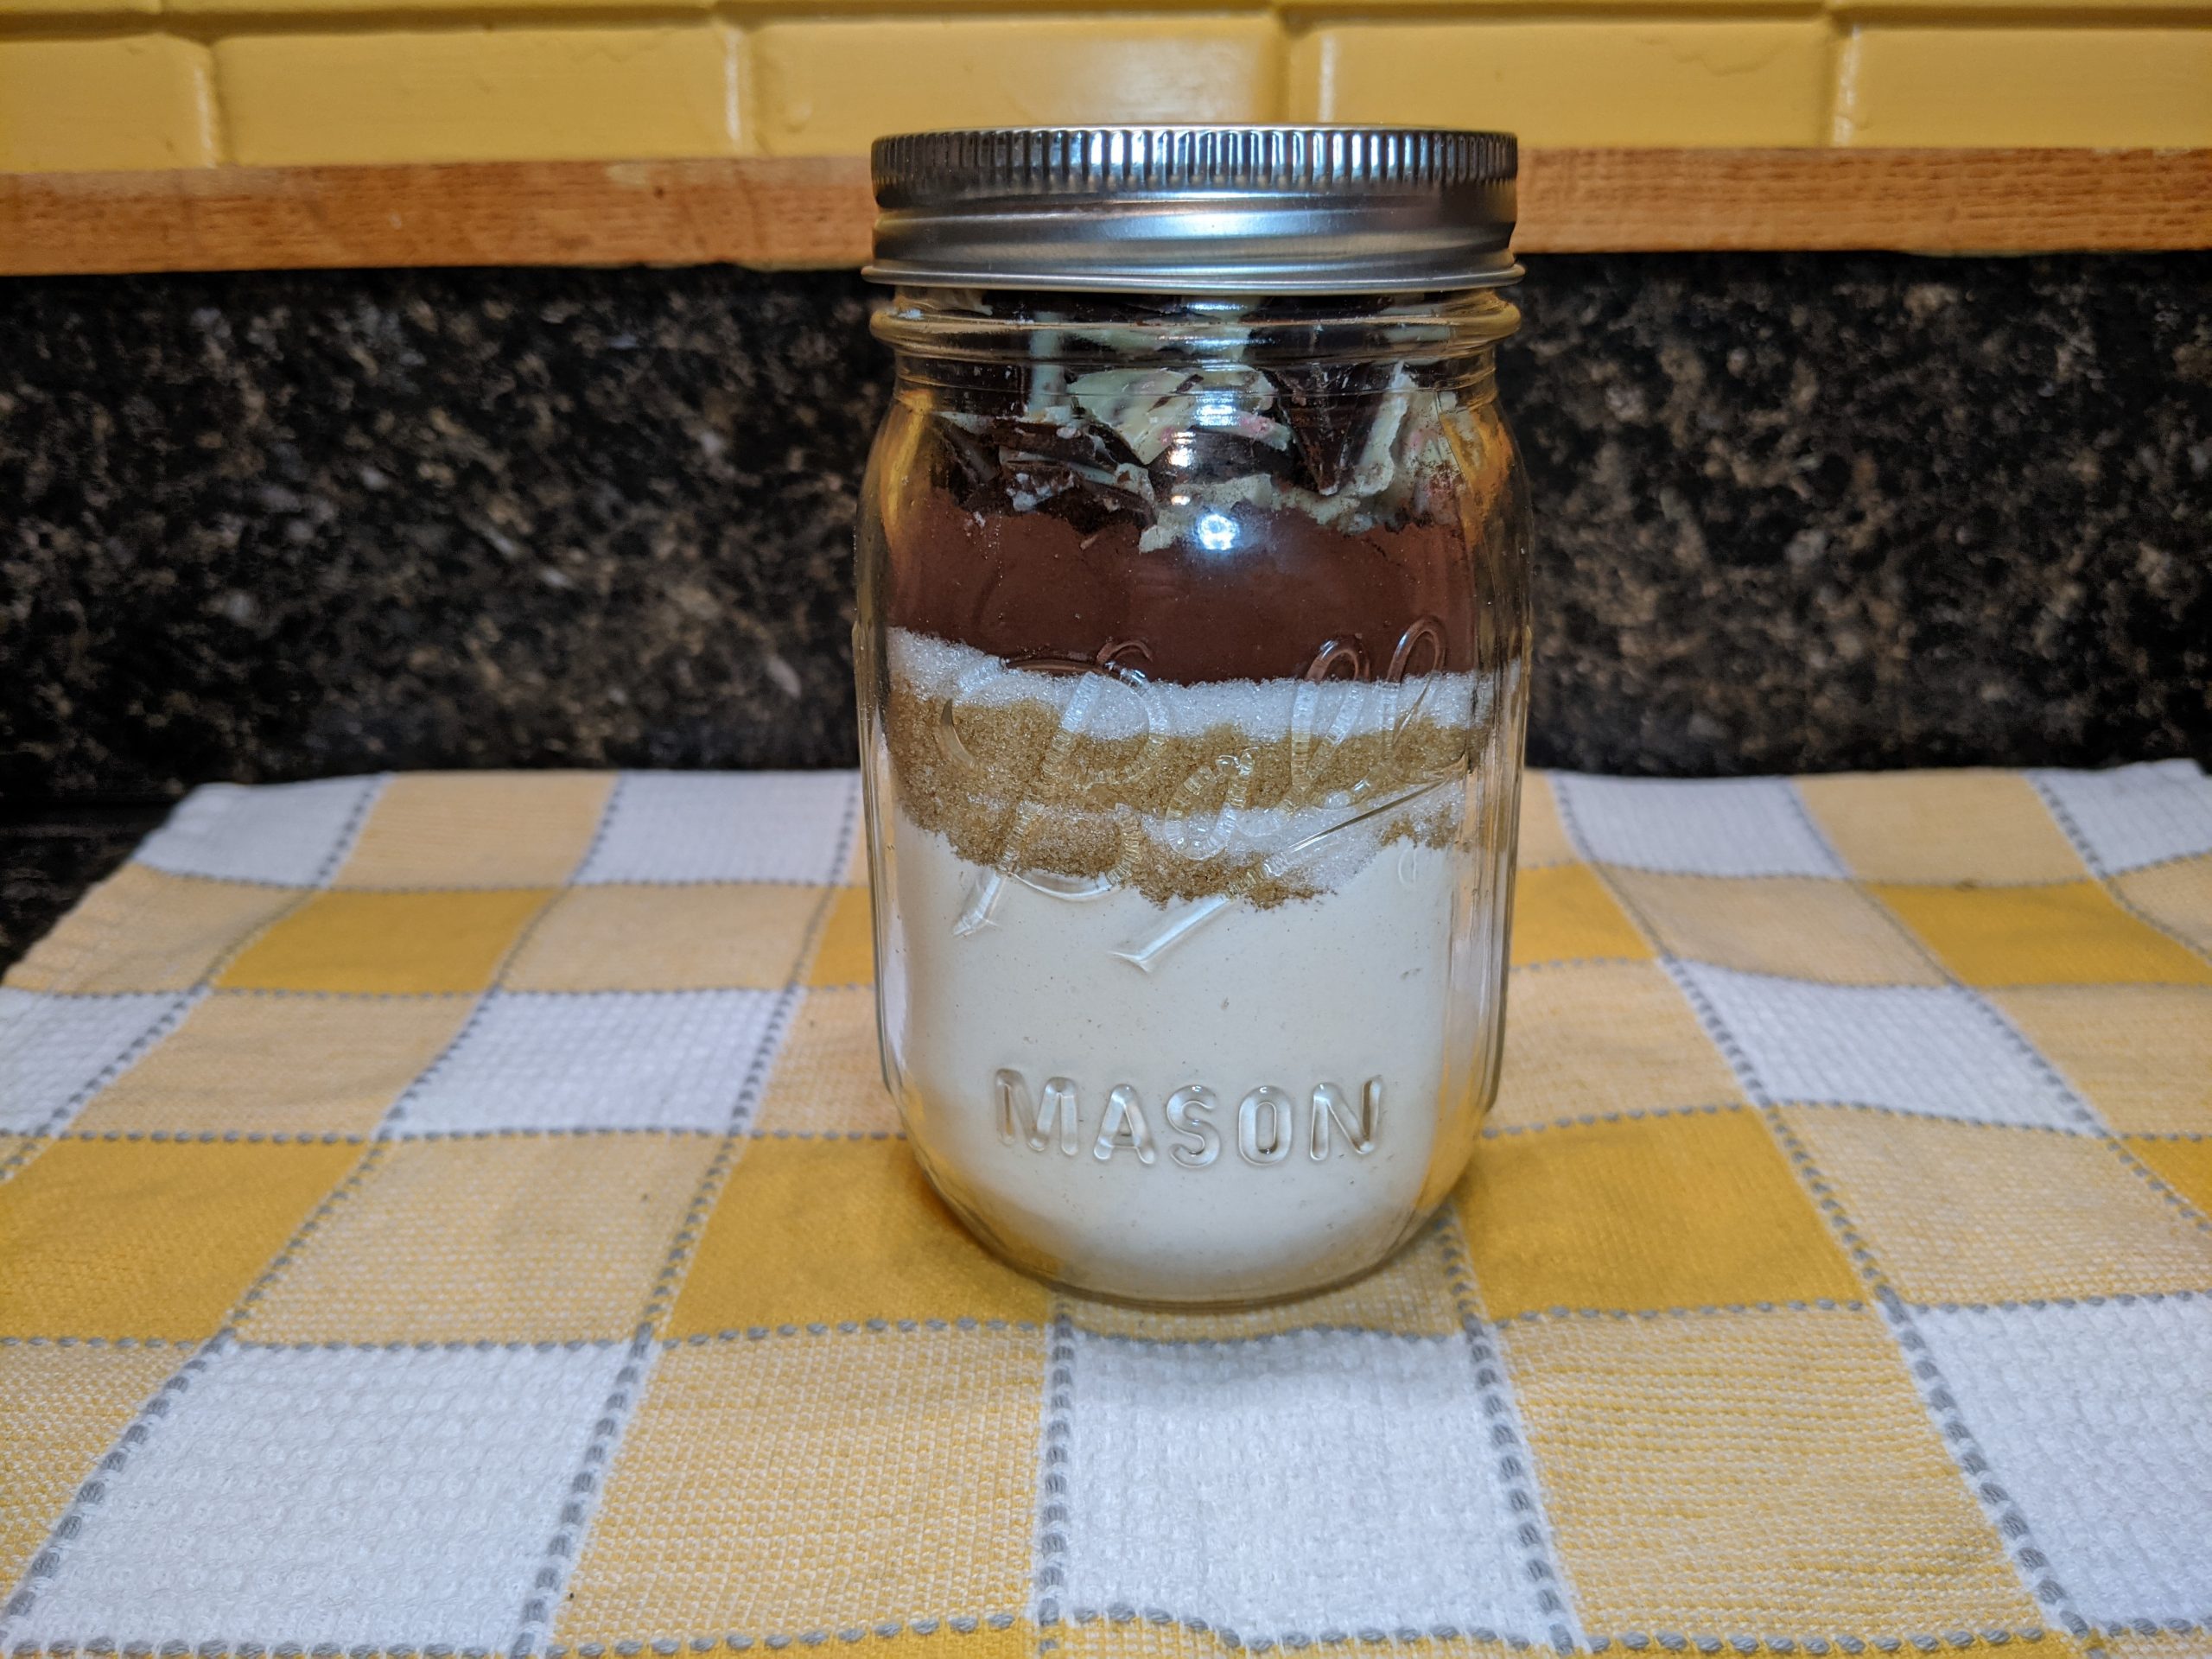
Chocolate Cookie Mix in a Jar
Equipment
- Mason Jar
- Mixing Bowl
- Baking Sheet
- Silicone Baking Mat
- Cookie Scoop
Ingredients
For the Jar Mix
- 14 Tbsp Flour ½ Cup + 6 Tbsp
- ½ Tsp Baking Powder
- ½ Tsp Baking Soda
- 6 Tbsp Brown Sugar
- ¼ Cup White Sugar
- 2 Tbsp Cocoa Powder
- ¾ Cup Chopped Peppermint Bark
- 1 Pinch Salt
To Make and Bake
- 6 Tbsp Butter Softened or Melted
- 1 Egg Lightly Beaten
- ½ Tsp Vanilla Extract
Instructions
To Assemble a Jar
- In a bowl, whisk together the flour, baking powder, baking soda, and salt. Add this mixture to the jar and lightly pack it down.
- Add half of the brown sugar and pack it down, as a divider layer.
- Add half of the white sugar, spread, and pack it down.
- Repeat with the other halves.
- Add the cocoa powder, then pack in as much peppermint bark as you can fit. Add the lid and screw it tight, and you're ready to mail it!
To Make and Bake
- Preheat oven to 350°F.
- Empty the jar mix into a mixing bowl and stir until well combined. Make sure to break up any clumps of brown sugar.
- Add in the vanilla, egg, and butter, and stir to mix into dough.
- Scoop the dough in tablespoon-sized balls. You should be able to make between 15 and 20 cookies, depending on the size of your scoops.
- Line a baking sheet with parchment paper or a silicone baking mat, put the cookie dough balls on it, and bake for 10-12 minutes.
- Let the cookies cool on a baking sheet for at least 5 minutes before transferring, or eating hot. Enjoy!

