
One of the very first things I reviewed on this site was a King Arthur Baking recipe, for a Japanese milk bread. That bread turning out great (and photogenic) was a big part of why I decided to make a food blog in the first place. Now, a hair over three years later, I decided it’s time to give another of their bread recipes a shot.
This is also another of those cases where I needed something for dinner and didn’t want to run to the store, so I decided to make it. In this case, we made a huge batch of shredded beef, and after using it in nachos, tacos, and a stroganoff kind of thing, it was time for sandwiches. We didn’t have buns, though, so rolls it is.
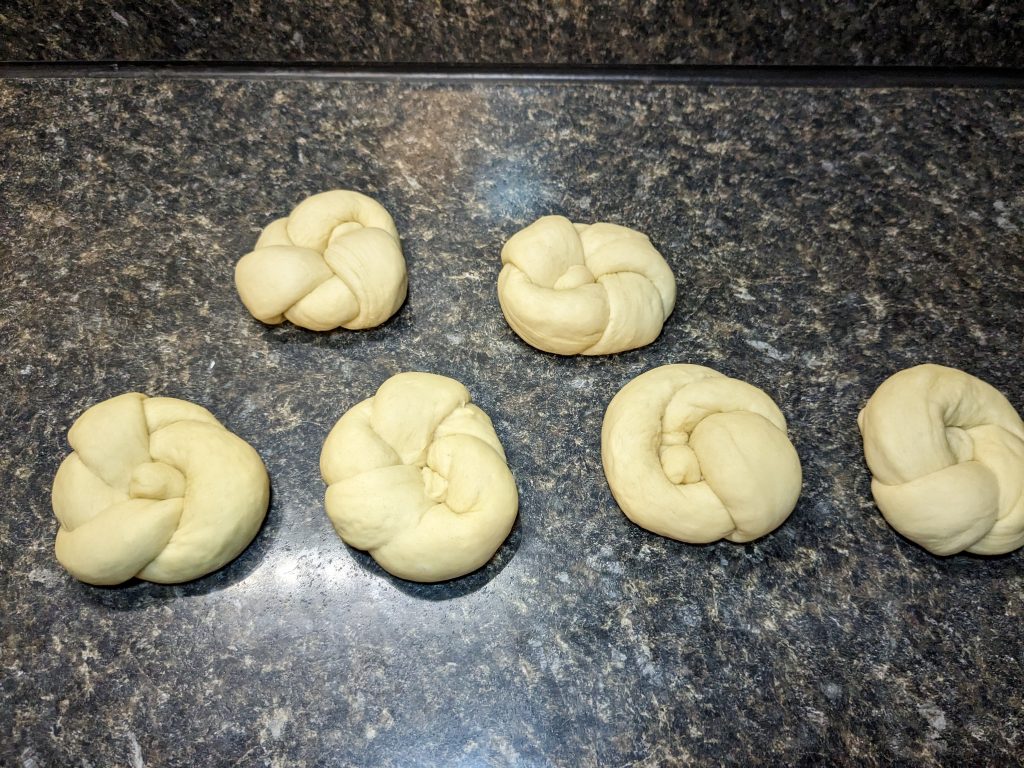
So, what makes a kaiser roll a kaiser roll? Apparently, it’s primarily supposed to be a characteristic five-pointed radial star made with scoring the dough, but mine didn’t really turn out that way. That, at least, is not to knock King Arthur; I followed a different tutorial for shaping the dough.
The Recipe Review
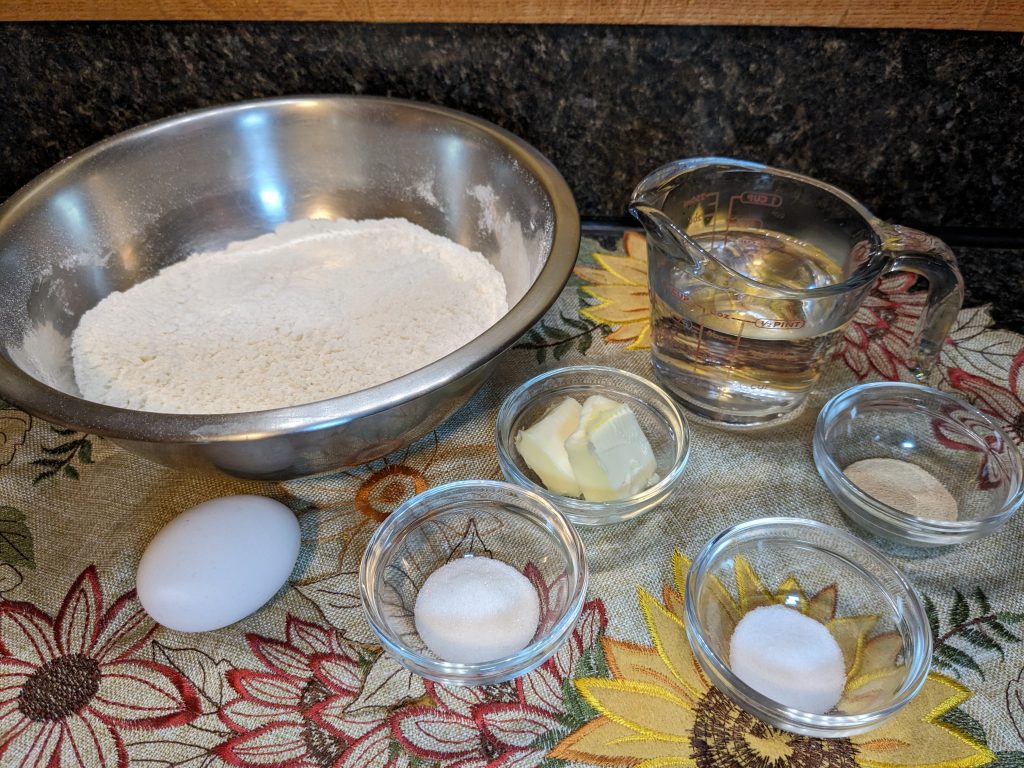
So, let’s talk about the recipe first. The King Arthur page for it is here. I more or less followed it the way they said, with three changes.
- I didn’t put seeds on the top. This apparently isn’t necessarily required for a kaiser roll, though it is on a lot of recipes. I happen to not like things like poppy or sesame seeds on bread, so I don’t keep them around.
- Rather than cut the pattern, I followed a King Arthur video tutorial on shaping them as knots. You can find that tutorial here. This is recommended from them if you don’t have a “kaiser roll stamp” which I definitely don’t.
- I proofed it a lot less than they actually called for.
Out of those three, the third one is by far the biggest impact, and it’s also the one that makes me put this recipe at a 3/5 stars.
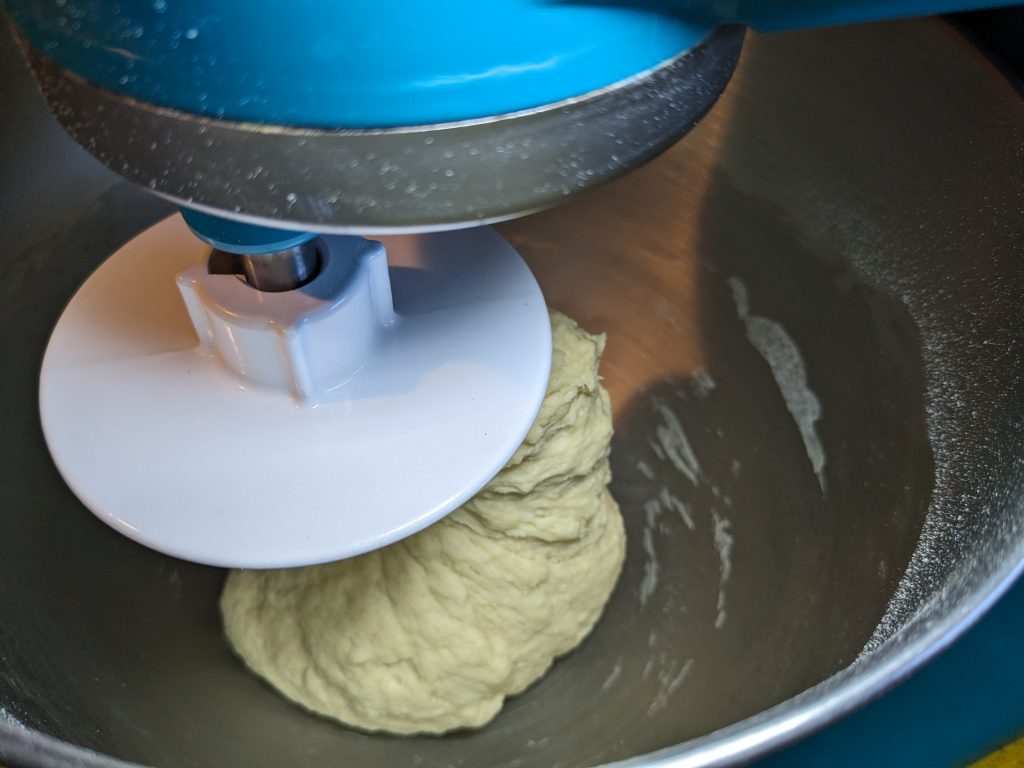
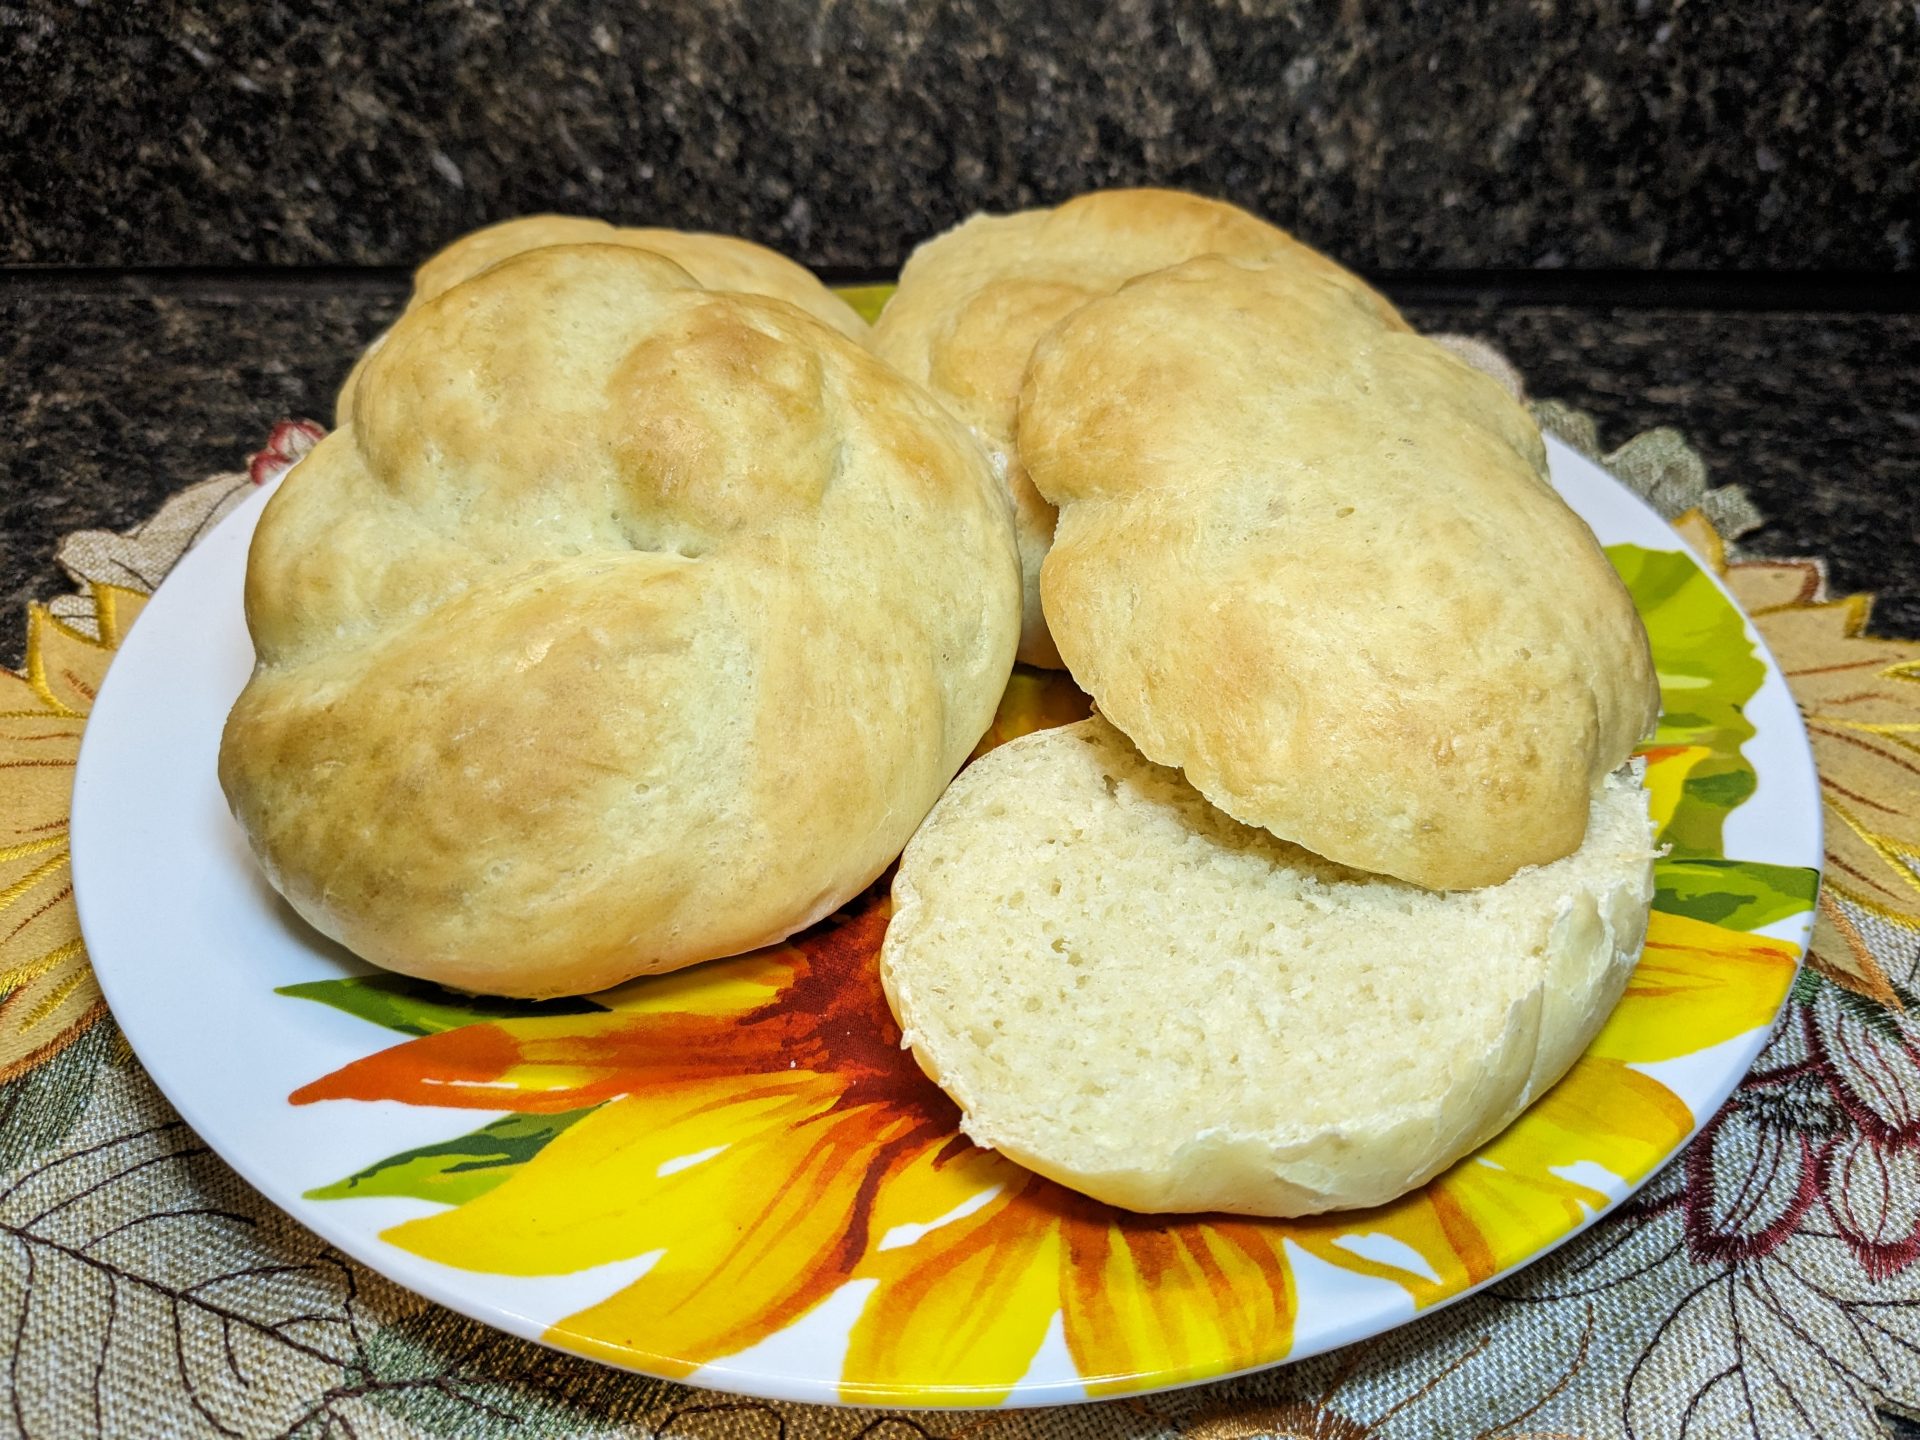
Making the dough itself is super fast and easy. It’s honestly probably one of the easiest doughs I’ve put together for a yeasted bread. The rolls it makes are perfectly sized, with a decent crumb, a simple bread flavor, and a nice bit of crust.
So why the knock? Well, the recipe calls for the usual process. Make the dough, let it rise, deflate it, divide and shape it, let it rise again, finish shaping, bake. Making the dough, letting it rise, deflating it, and shaping it all went fine.
The problem is the second rise. They call for 45-60 minutes of rising for the second rise. Erring on the side of caution and knowing things usually proof slowly in my kitchen, I set a timer to check it at 40 minutes. What I found was dough that was already over-proofed at that point.
That’s why, when you look at my pictures, the rolls are noticeably flatter than they should be and don’t really have their shape. I couldn’t turn over and flip the rolls because they had lost their form, let alone dip them in a topping.
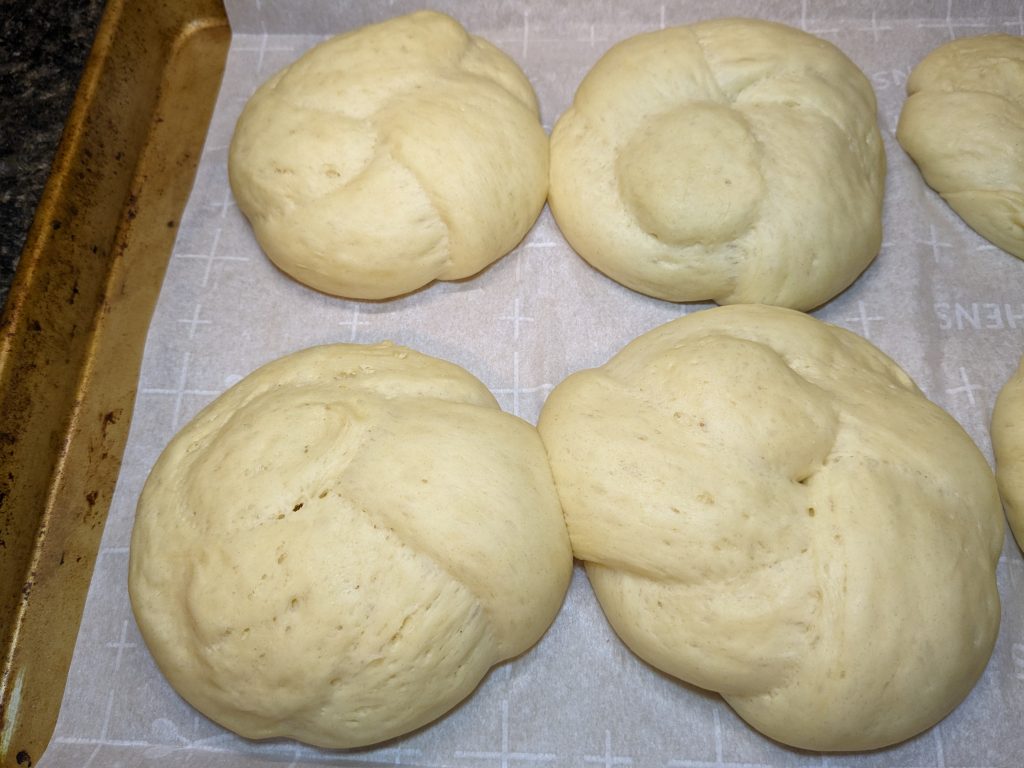
Taste-wise, they’re perfectly fine as a basic white bread roll. Texture-wise, even with over-proofing them, they were fine; a soft-yet-firm bread that worked great for sandwiches. It was just that one step that left them a little denser and stouter than they should be.
I will also say that this recipe has a decent number of mediocre or even poor reviews from people who had similar results, as well as some folks who call out the recipe as “not a true kaiser roll.” That seems to be true, operating on a technical level, as kaiser rolls have malt in them and this recipe doesn’t.

Is it a bad recipe? Absolutely not. Is it a kaiser roll? Not really. If you want a simple sandwich bun, this works fine, with a little adjustment to the proofing and handling. If you want a real kaiser roll, though, I’d say look elsewhere.