
Butter is an essential ingredient in a lot of baking and cooking, and with good reason. Fat adds flavor and richness, and butter brings moisture to baked goods that makes them so much tastier.

I’m not the type to run out of butter like I am other ingredients. But, I was watching a YouTube channel recently of an individual who made recipes, making as much of every ingredient from scratch as possible. That’s what inspired me to see if I could make butter.

Pro tip: Make sure you have a splash guard for your mixer, otherwise you’re going to get splatters everywhere!

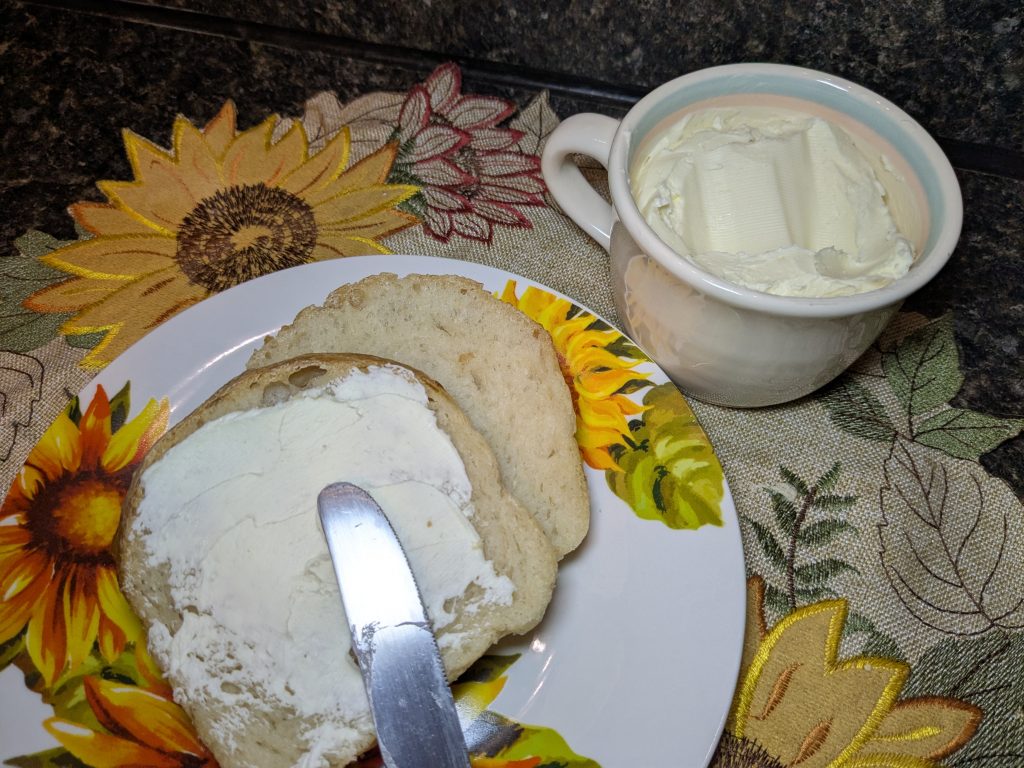
What I learned is that butter is a lot easier to make at home than I thought, but it does take time and a little work. You aren’t going to be laboring over a butter churn — we have stand mixers for that — but you do still need to manually squeeze the buttermilk out of the butter to ensure it lasts as long as possible.

The more buttermilk that you leave in the finished product, the sooner it’s likely to go rancid. It can, when properly squeezed out, last for 3-4 weeks in the fridge, and several months in the freezer. At the rate I use it, though, it probably won’t last a fraction of that time in the quantity I made.
Adding Flavors
For my butter, I did a simple salted butter. I can tell you two things about it: if you taste it when you’re first mixing it together, it tastes way saltier than the finished product, and that it’s easy to adjust the saltiness up, but not down.

Now, the real trick comes if you want to add flavors to your butter. I plan to do this in the future, so if I hit on any really tasty butter mixtures I’ll be sure to add them, but for the most part you can just mix in a teaspoon or two of whatever you like.

- Make a sweet butter by adding in cinnamon and sugar, or by whipping in a drizzle of honey.
- Make an herbed butter by grinding and mixing in herbs like thyme, rosemary, and sage.
- Make a multi-flavor butter by pureeing garlic and herbs in a food processor before mixing it into the butter.
With a butter base, you can do pretty much any flavor combination you could want, and adjust the quantity of mix-ins to suit the intensity of the flavor.

As an added bonus, you end up with about a cup of buttermilk left over from this process, so you can use it to make pancakes or biscuits! If you’re like me and don’t tend to keep buttermilk on hand, this is a nice way to make use of something you might otherwise discard.

Homemade Butter
Equipment
- Stand Mixer with Whisk Attachment Splash guard near-mandatory
- Large Mixing Bowl
- Cheese Cloth Paper towels also work
- Rubber Spatula
Ingredients
- 2 Cups Heavy Cream
- ¼ Tsp Salt Or other mix-ins.
Instructions
- Let your heavy cream come to room temperature, about 30-60 minutes before making your butter.
- Pour the heavy cream into your stand mixer with whisk attachment and splash guard. This makes a mess so be prepared.
- Turn the mixer on low and slowly increase speed every few seconds until you're at max. For reference, at 8/10 it took a ton of time to whip up the butter, but at 10/10 it happened very quickly. Speed is important.
- After a minute or so, your cream will have become whipped cream. Keep going! It will take 5-10 minutes for the cream to fully separate into butter and buttermilk.
- Once this separation occurs, pour off the buttermilk (saving it if you want), and scrape the butter into a ball.
- Fill a mixing bowl with COLD water, then transfer the butter ball into it. The rinsing process involves squeezing the butter against the side of the bowl, then re-balling and re-squeezing it.
- The water will turn cloudy with excess buttermilk. After a few squeezes, replace the water and keep going, until squeezing the butter no longer clouds the water.
- Once done, dry the butter by squeezing moisture out of it with paper towels or cheesecloth.
- Finally, add in your salt or mix-ins. You can do this in the mixer again, or just mix it together with a spoon. When you're done, transfer the butter to an airtight container or wrap it in plastic wrap or waxed paper. The more air-tight the better to keep it fresh longer.